Build your first Vue 2 app today
Let's build a simple Vue 2 app, and style it with the BootstrapVue framework
By: Ajdin Imsirovic 30 September 2020
In this tutorial we’ll build a simple Vue.js 2.x app. We’ll begin by installing Vue.js, and then build a simple web page with some basic data handling, ESLint setup, and a couple of components from the BootstrapVue framework.

Summary of topics covered
Here’s a quick summary of topics covered in this tutorial, including links to specific sections.
- Installing Vue.js
- Preparing VS Code for Vue
- Installing the boilerplate Vue.js app with Vue CLI
- Removing redundant code from our boilerplate Vue.js app
- Renaming the HelloWorld component to CalorieCounter component
- Adding and displaying data inside the CalorieCounter.vue component
- Setting up ESLint to work with Vue.js
- Styling our app with BootstrapVue
- Adding Vue Chrome Extension
- Adding a navigation component to our app
We’ll begin by installing Vue.js.
1. Installing Vue.js
Before we can install Vue.js, we need to make sure to have Node.js and npm installed.
Once that’s taken care of, we can install the Vue.js command-line interface (aka vue CLI), using the following command:
npm install -g @vue/cli --loglevel verbose
Vue CLI makes it possible to add new Vue.js projects from the command line, with all the settings configurable in a few user-friendly steps.
The above command will take some time even on a fast machine with a fast internet connection. Using the verbose flag above gives us real-time updates on the status of our installation, which might make the waiting easier.
Now we can check for the version of Vue.js that we have available on our system:
vue -V
Note: the above flag is a capital V letter.
The above command should result in output similar to the one below:
@vue/cli 4.5.6
2. Preparing VS Code for Vue
In the recent years, VS Code has become the de-facto standard editor for JS-intensive development. Once we have it installed on our machine, we will need to add some Vue.js-related extensions, to make our Vue development experience as nice as possible.
A nice bundle of Vue-specific VS Code extensions is the Vue VS Code Extension Pack by Sarah Drasner; to install it, simply click the extensions icon (the bottom-most icon in the left-hand icon menu of the VS Code interface), and type “VS Code Extension Pack”.
Next, click the “install” button and wait for the installation to complete.
3. Installing the boilerplate Vue.js app with Vue CLI
There are two ways to begin a brand new Vue.js project using Vue CLI:
- with the
vue createcommand - with the
vue uicommand
In this tutorial, we’ll go with the first option. This will keep things as simple as possible.
We’ll build a simple calorie tracker app, so let’s start by installing a boilerplate project like this:
vue create -d calories
Here’s the explanation of what the above command does:
vue createstarts the background work of setting up the boilerplate project-dis saving time by accepting all the default settings, without prompting us for answers to each of the number of questions regarding project settingscaloriesis the name of our new Vue.js project
Here’s the output of running the above command:
Vue CLI v4.5.6
✨  Creating project in /home/awv/calories.
🗃  Initializing git repository...
⚙️  Installing CLI plugins. This might take a while...


> yorkie@2.0.0 install /home/awv/calories/node_modules/yorkie
> node bin/install.js

setting up Git hooks
done


> core-js@3.6.5 postinstall /home/awv/calories/node_modules/core-js
> node -e "try{require('./postinstall')}catch(e){}"


> ejs@2.7.4 postinstall /home/awv/calories/node_modules/ejs
> node ./postinstall.js

added 1249 packages from 918 contributors in 21.231s

54 packages are looking for funding
  run `npm fund` for details

🚀  Invoking generators...
📦  Installing additional dependencies...

added 53 packages from 36 contributors in 9.113s

58 packages are looking for funding
  run `npm fund` for details

⚓  Running completion hooks...

📄  Generating README.md...

🎉  Successfully created project calories.
👉  Get started with the following commands:

 $ cd calories
 $ npm run serve
We can inspect the app as it is by running cd calories, followed by npm run serve.
We’ll see this output in the console:
 DONE  Compiled successfully in 1272ms


  App running at:
  - Local:   http://localhost:8080/
  - Network: http://192.168.1.127:8080/

  Note that the development build is not optimized.
  To create a production build, run npm run build.
However, that doesn’t mean it will work when we open localhost:8080 in the browser. A common reason why this will fail is if we have apache running already, and taking up the port.
A simple solution is to run the npm run serve command with a port specified, like this:
npm run serve -- --port 4567
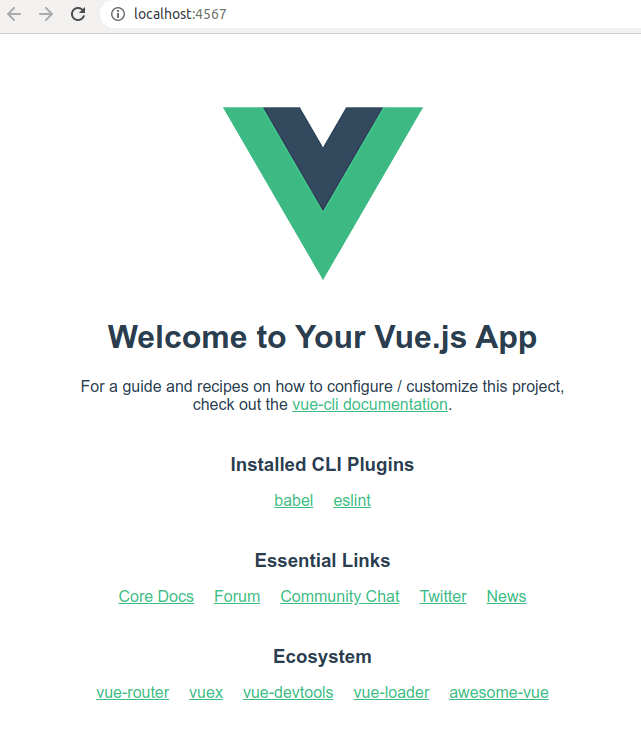
This time, opening the browser at http://localhost:4567, will result in the following output:
Alternatively, we can use the default npm run serve command, and move the port setting to an .env file in the root of our project:
touch .env;
echo PORT=4567 >> .env # echo text filename
The result should be exactly the same: a boilerplate Vue.js app served in the browser at https://localhost:4567.
4. Removing redundant code from our boilerplate Vue.js app
To start making changes to our app, we’ll first open it in VS Code. We can do that straight from the command line, with this command:
code .
Navigate to the HelloWorld.vue file, as seen in the following screen capture.
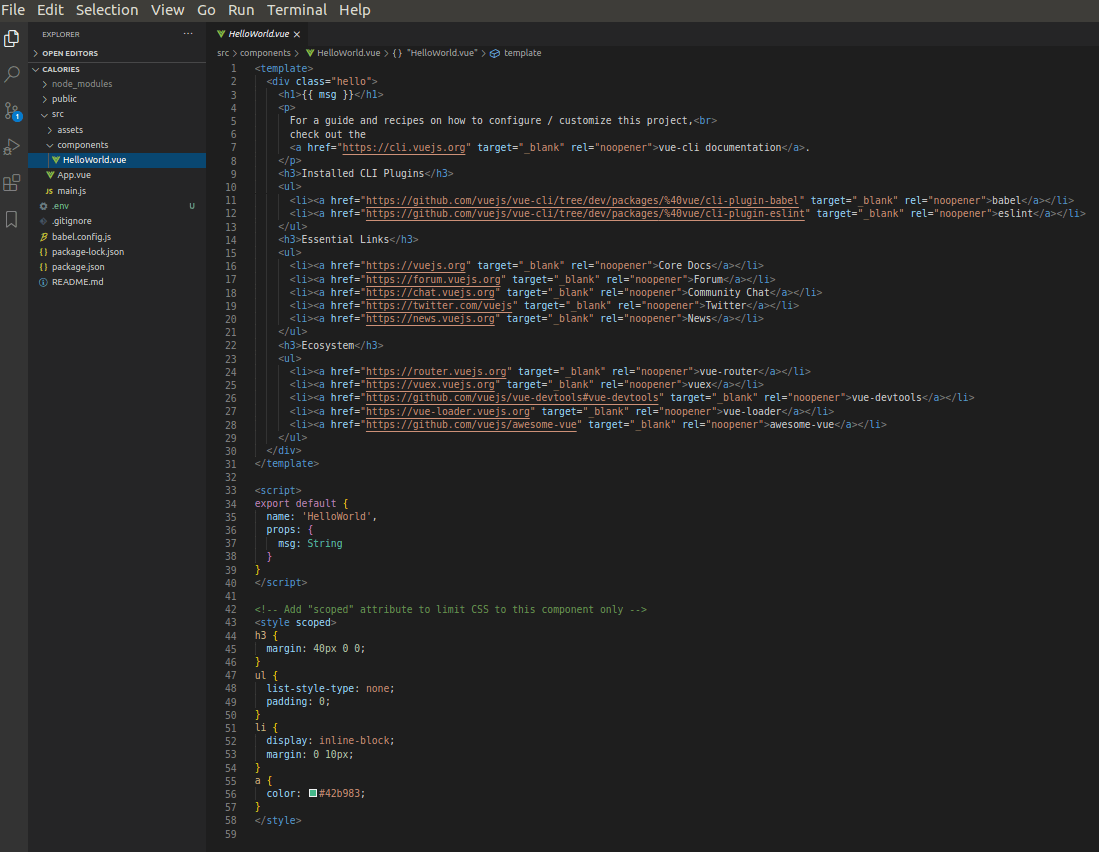
Erase everything between lines 4-29 (including these two lines). Additionally, erase the entire <style> tag’s contents.
This should make the HelloWorld.vue file a lot shorter:
1
2
3
4
5
6
7
8
9
10
11
12
13
14
15
16
17
18
<template>
  <div class="hello">
    <h1>{{ msg }}</h1>
  </div>
</template>

<script>
export default {
  name: 'HelloWorld',
  props: {
    msg: String
  }
}
</script>

<!-- Add "scoped" attribute to limit CSS to this component only -->
<style scoped>
</style>
Here’s what our Vue app looks like in the browser after we’ve removed the redundant code.
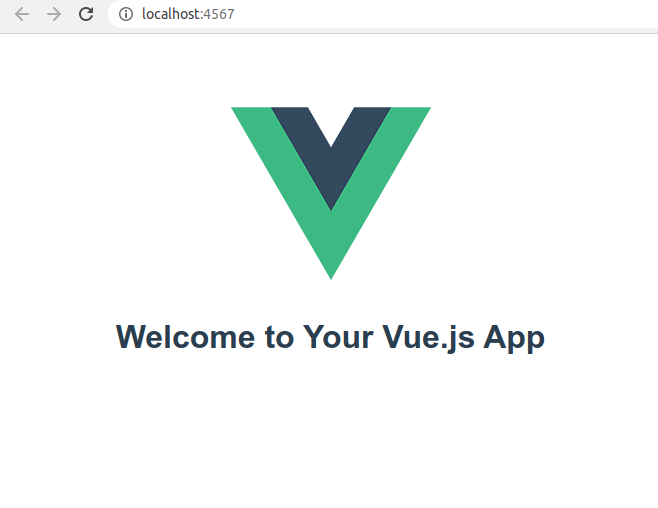
A lot of unnecessary stuff was removed, but the logo is still there. That’s because the Vue.js logo comes from the App.vue file, which we can now update to this:
1
2
3
4
5
6
7
8
9
10
11
12
13
14
15
16
17
18
19
<template>
  <div id="app">
    <HelloWorld msg="Welcome to Your Vue.js App"/>
  </div>
</template>

<script>
import HelloWorld from './components/HelloWorld.vue'

export default {
  name: 'App',
  components: {
    HelloWorld
  }
}
</script>

<style>
</style>
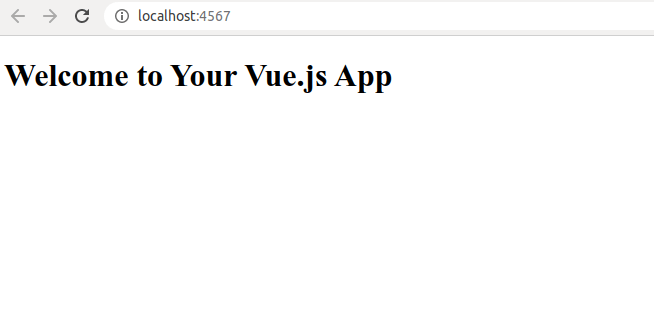
Similar to what we’ve done in the HelloWorld.vue component, we have now remove the styles from App.vue, along with the <img> tag that was holding the Vue.js logo. Now our web app has a really stripped-down look:
5. Renaming the HelloWorld component to the CalorieCounter component
In this section of our tutorial, we’ll just rename the HelloWorld.vue component to something more appropriate: CalorieCounter.vue.
To do that, we’ll start with renaming the HelloWorld.vue file to CalorieCounter.vue.
Next, we’ll update our newly renamed CalorieCounter.vue to the following code:
1
2
3
4
5
6
7
8
9
10
11
12
13
14
15
16
17
18
<template>
  <div class="counter">
    <h1>{{ msg }}</h1>
  </div>
</template>

<script>
export default {
  name: 'CalorieCounter',
  props: {
    msg: String
  }
}
</script>

<!-- Add "scoped" attribute to limit CSS to this component only -->
<style scoped>
</style>
To make the App.vue file aware of the change in name, we’ll update this file as well:
1
2
3
4
5
6
7
8
9
10
11
12
13
14
15
16
17
18
19
<template>
  <div id="app">
    <calorie-counter msg="Welcome to Calorie Counter Vue.js App"/>
  </div>
</template>

<script>
import CalorieCounter from './components/CalorieCounter.vue'

export default {
  name: 'App',
  components: {
    CalorieCounter
  }
}
</script>

<style>
</style>
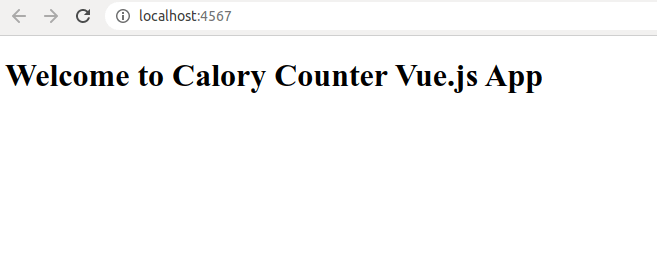
Now our app looks like this in the browser:
6. Adding and displaying data inside the CalorieCounter.vue component
Next, we’ll add some data to CalorieCounter.vue. To do that, we only need to update the code inside the <script> tag:
1
2
3
4
5
6
7
8
9
10
11
12
13
14
15
16
17
<script>
export default {
  name: "CalorieCounter",
  data() {
    return {
      foods: [
        { name: "An apple", calories: 50 },
        { name: "A slice of bread", calories: 150 },
        { name: "An icecream", calories: 500 },
      ]
    }
  },
  props: {
    msg: String,
  },
};
</script>
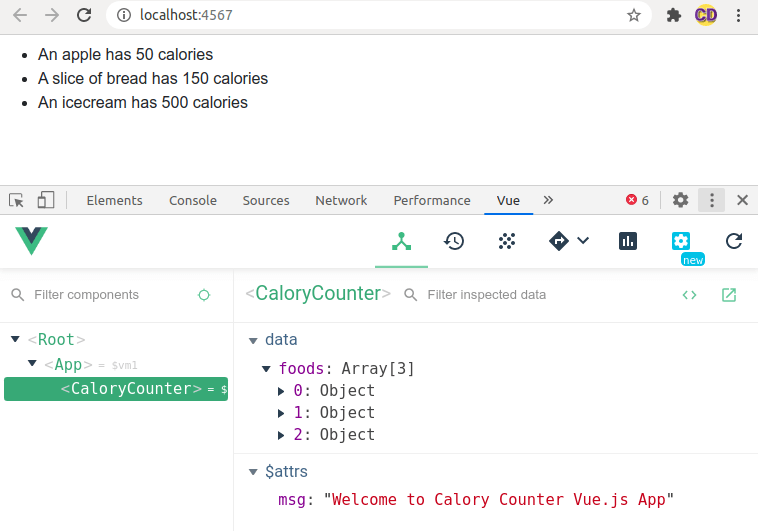
In the code above, we’ve added a new property: a data() function. This function returns an object with a single property inside; that’s the foods property. The foods property is an array of member objects, where each of the member objects has two properties: name and calories.
To keep things simple, we have only three entries inside the foods array.
Now we’ll need to display this data inside the <template> tag section in the CalorieCounter.vue component:
1
2
3
4
5
6
7
8
9
10
<template>
  <div class="counter">
    <h1>{{ msg }}</h1>
    <ul>
      <li v-for="food in foods" v-bind:key="food">
        {{  food.name  }} has {{  food.calories  }} calories
      </li>
    </ul>
  </div>
</template>
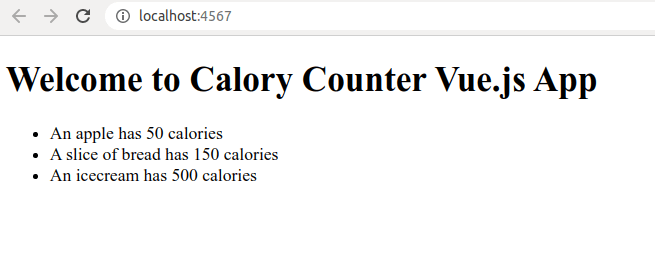
After we’ve added the above changes, our app now looks like this:
7. Setting up ESLint to work with Vue.js
To set up ESLint, we’ll use the convenient settings.json file that’s available in VS Code for all kinds of customizations.
To access it open the Command pallette with CTRL + SHIFT + p.
Next, type the words Open Settings into the command pallette.
You’ll be offered two commands:
- The Open Settings (JSON) command allows us to edit the
settings.jsonfile directly - The Open Settings (UI) command allows us to edit the
settings.jsonusing a graphical user interface
Let’s opt for option number one and edit the settings.json file directly.
We’ll update our settings.json file so that it looks like this:
1
2
3
4
5
6
7
8
9
10
11
12
13
"eslint.validate": [
  "vue",
  "javascript",
  "javascriptreact"
],
"editor.codeActionsOnSave": {
  "source.fixAll.eslint": true
},
"vetur.validation.template": false,
"editor.formatOnPaste": true,
"editor.formatOnType": true,
"editor.formatOnSave": false,
"files.eol": "\n"
Once I’ve saved the file, I got a pop-over in the bottom-right corner of VS Code, saying, “Visual Studio Code is unable to watch for file changes in this large workspace”.
To fix it, we need to update a parameter in an Ubuntu system file, named /etc/sysctl.conf.
To set parameter values, we use the sysctl -w command, where the -w stands for “write” kernel param values to specified keys is /proc/sys, as follows:
sudo sysctl -w fs.inotify.max_user_watches=524288
Now we can verify that the above variable has been updated:
sysctl -a | grep "max_user_watches" | less
The above code works as follows:
- the
sysctl -adisplays all the variables; there are many variables there! - to search for a specific match, we pipe the first command to the
grepcommand, and we specify the string we’re searching for using the double quotes - finally, we pipe the result to the less utility; now our result opens in a new console screen, and we can exit it using the q key on the keyboard (as in “quit”). This will return us to the regular command line tab where we started from.
Now that we’ve increased the number of max user watches, ESLint should be able to watch all the files in our projects.
Since our goal is to be able to use the npm run lint command to lint the code when we want, we’ll make some additional changes, namely:
- install additional npm packages
- add a brand new
.eslintrc.jsfile to the root of our app
Here’s the installation of additional npm packages:
npm install -D eslint prettier babel-eslint eslint-config-airbnb-base eslint-plugin-import eslint-config-prettier eslint-plugin-prettier eslint-plugin-vue
We’ll add the new dotfile like this:
touch .eslintrc.js
Next, we’ll open the new .eslintrc.js file in VS Code like so:
code .eslintrc.js
We’ll add the following code to .eslintrc.js:
1
2
3
4
5
6
7
8
9
10
11
12
13
14
15
16
17
18
19
20
21
22
23
24
25
26
27
28
module.exports = {
  root: true,
  env: {
    browser: true,
  },
  parserOptions: {
    parser: 'babel-eslint',
    sourceType: 'module',
  },
  extends: [
    'airbnb-base',
    'plugin:vue/recommended',
    'prettier/vue',
    'plugin:prettier/recommended'
  ],
  rules: {
    'comma-dangle': 'off',
    'class-methods-use-this': 'off',
    'import/no-unresolved': 'off',
    'import/extensions': 'off',
    'implicit-arrow-linebreak': 'off',
    'import/prefer-default-export': 'off',
    "vue/component-name-in-template-casing": ["error", "kebab-case", {
      "ignores": []
    }],
    'prettier/prettier': ['error', { 'singleQuote': true, 'endOfLine': 'auto' }]
  },
};
Next, let’s mess up the code in a file in our project on purpose, so as to test if our linting setup works correctly. As a test, we’ll change the contents of CalorieCounter.vue file’s script section to this:
1
2
3
4
5
6
7
8
9
10
11
12
13
14
15
16
17
18
19
<script>
export default {
  name: 'CalorieCounter'

  ,
  props: {
    msg: String,
  },
  data() {
    return {
      foods: [
        { name: 'An apple', calories: 50 },
        { name: 'A slice of bread', calories: 150 },
        { name: 'An icecream', calories: 500 },
      ],
    };
  },
};
</script>
In the code above, the comma should follow right after name: 'CalorieCounter', but we’ve inserted a redundant empty line and the comma on the line after.
Now, when we run npm run lint, we’ll get the following output:
npm run lint

> calories@0.1.0 lint /home/awv/calories
> vue-cli-service lint

The following files have been auto-fixed:

  src/App.vue
  src/components/CalorieCounter.vue
  src/main.js
  .eslintrc.js
  babel.config.js

warning: Prop 'msg' requires default value to be set (vue/require-default-prop) at src/components/CalorieCounter.vue:16:5:
  14 |   name: 'CalorieCounter',
  15 |   props: {
> 16 |     msg: String,
     |     ^
  17 |   },
  18 |   data() {
  19 |     return {


1 warning found.
Great! Two things happened when we ran the linter:
- Several files were auto-formatted (“auto-fixed”) - including the removal of redundant empty line after
name: 'CalorieCounter', and the proper formatting (moving the comma right after it) - Additionally, we got a warning:
Prop 'msg' requires default value to be set (vue/require-default-prop)
This warning will not get auto-fixed, but now we can naively try to solve the error by updating the props entry in CalorieCounter.vue to this:
1
2
3
4
props: {
	msg: String,
	default: '',
},
Obviously, this approach will not work; let’s confirm we’re mistaken by running npm run lint again; this time, we’ll get back:
warning: Prop 'default' requires default value to be set (vue/require-default-prop) at src/components/CalorieCounter.vue:18:5:
  16 |   props: {
  17 |     msg: String,
> 18 |     default: '',
     |     ^
  19 |   },
  20 |   data() {
  21 |     return {


error: The "default" property should be a constructor (vue/require-prop-type-constructor) at src/components/CalorieCounter.vue:18:14:
  16 |   props: {
  17 |     msg: String,
> 18 |     default: '',
     |              ^
  19 |   },
  20 |   data() {
  21 |     return {


1 error and 2 warnings found.
So, we’ve tried to fix the problem of Prop 'default' requires default value to be set, and we ended up with another error: The "default" property should be a constructor. This is great, because ESLint is pointing us in the right direction; if we’re still not sure how to fix the issue, at least now we have a specific warning message. Now we can search the web for a solution to the above warning message, and update our code accordingly:
1
2
3
4
msg: {
	type: String,
	default: 'A default value',
},
This time, if we ran npm run lint, we’ll get this back:
npm run lint

> calories@0.1.0 lint /home/awv/calories
> vue-cli-service lint

The following files have been auto-fixed:

  src/components/CalorieCounter.vue

 DONE  All lint errors auto-fixed.
This means that we’ve correctly fixed the warning message, and now we can continue working on our project. ESLint, when properly set up, is a great learning tool that helps us keep our code up to a pretty high standard, without having to put it too much effort into it.
Next, let’s deal with our app’s styling.
8. Styling our app with BootstrapVue
Our app is still unstyled. Let’s change that by adding the bootstrap-vue framework to it.
On the command line, in the root of our project, we’ll add bootstrap-vue with npm:
npm install bootstrap-vue bootstrap
Next, in main.js we’ll need to import BootstrapVue. Here’s the full updated contents of main.js:
1
2
3
4
5
6
7
8
9
10
11
12
13
14
import Vue from 'vue'
import { BootstrapVue, IconsPlugin } from 'bootstrap-vue'
import 'bootstrap/dist/css/bootstrap.css'
import 'bootstrap-vue/dist/bootstrap-vue.css'
import App from './App.vue'

Vue.use(BootstrapVue)
Vue.use(IconsPlugin)

Vue.config.productionTip = false

new Vue({
  render: h => h(App),
}).$mount('#app')
With Vue.use(BootstrapVue) we install BootstrapVue, and with Vue.use(IconsPlugin), we install the optional BootstrapVue icon components plugin.
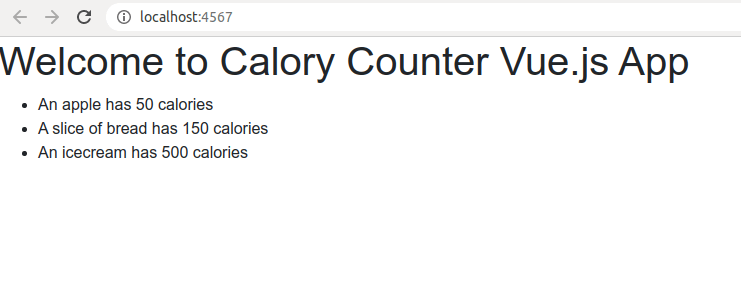
Once we’ve updated the main.js file as explained above, we’ll have the following updated styles in the browser.
Next, we’ll add the Vue Chrome extension.
9. Adding Vue Chrome extension
The Vue Chrome extension is very helpful when working with Vue apps.
To add the Vue Chrome extension to our browser, it’s enough to search Google for “vue chrome extension” and the first result should be a link to the official chrome web store, Vue extension page:

Clicking the “Add to Chrome” button will open the following alert:
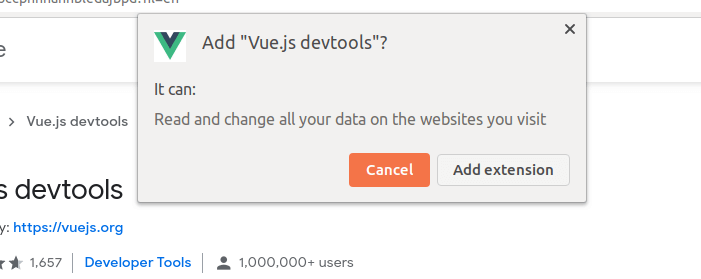
After we click the “Add extension” button on the alert above, we’ll get notified that the Vue devtools extension has been added to Chrome. Now we can inspect our Vue projects with a specialized Vue devtools interface. To open it, just press F12 like you would usually, to get to Chrome devtools. Now we’ll have an additional tab besides the standard Elements, Console, and other built-in tabs inside Chrome devtools.
To have Vue devtools available with our project, we can close and reopen the devtools by pressing the F12 key a couple of times. Alternatively, we can just close the whole browser, then re-open it.
Once we’ve reopened our project at localhost:4567, we can navgate to our new vue tab inside Chrome devtools, and get a different, useful perspective of what’s happening with our app.
Next, we’ll extend our app by adding another component.
10. Adding a navigation component to our app
Our app is coming together nicely, and now we can add some navigation, so let’s go over to BootstrapVue’s navbar documentation, and find a nice navbar example to use:
1
2
3
4
5
6
7
8
9
10
11
12
13
14
15
16
17
18
19
20
21
22
23
24
25
26
27
28
29
30
31
32
33
34
35
36
37
38
<div>
  <b-navbar toggleable="lg" type="dark" variant="info">
    <b-navbar-brand href="#">NavBar</b-navbar-brand>

    <b-navbar-toggle target="nav-collapse"></b-navbar-toggle>

    <b-collapse id="nav-collapse" is-nav>
      <b-navbar-nav>
        <b-nav-item href="#">Link</b-nav-item>
        <b-nav-item href="#" disabled>Disabled</b-nav-item>
      </b-navbar-nav>

      <!-- Right aligned nav items -->
      <b-navbar-nav class="ml-auto">
        <b-nav-form>
          <b-form-input size="sm" class="mr-sm-2" placeholder="Search"></b-form-input>
          <b-button size="sm" class="my-2 my-sm-0" type="submit">Search</b-button>
        </b-nav-form>

        <b-nav-item-dropdown text="Lang" right>
          <b-dropdown-item href="#">EN</b-dropdown-item>
          <b-dropdown-item href="#">ES</b-dropdown-item>
          <b-dropdown-item href="#">RU</b-dropdown-item>
          <b-dropdown-item href="#">FA</b-dropdown-item>
        </b-nav-item-dropdown>

        <b-nav-item-dropdown right>
          <!-- Using 'button-content' slot -->
          <template v-slot:button-content>
            <em>User</em>
          </template>
          <b-dropdown-item href="#">Profile</b-dropdown-item>
          <b-dropdown-item href="#">Sign Out</b-dropdown-item>
        </b-nav-item-dropdown>
      </b-navbar-nav>
    </b-collapse>
  </b-navbar>
</div>
The question now is: How do we add BootstrapVue navbar to our Vue app?
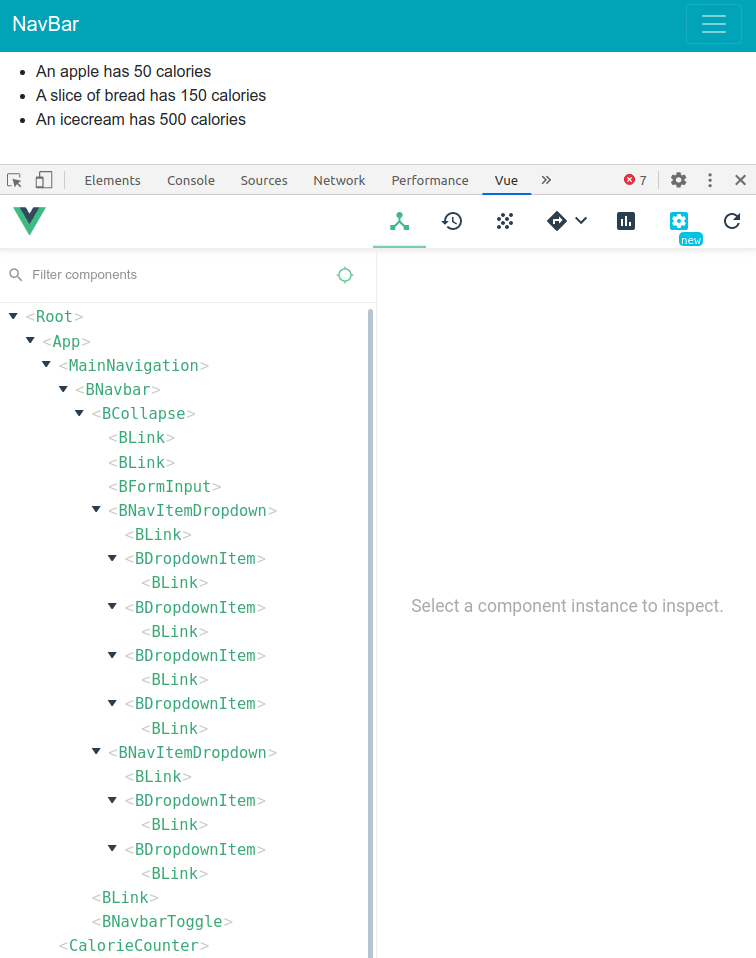
Actually, this is very, very easy. We’ll just surround the above code in a pair of opening and closing <template> tags. We’ll also add a script tag to export the component, and we’ll leave out the style tag. We’ll name the component MainNavigation so that we can use it in our app as a custom element of <main-navigation>.
1
2
3
4
5
6
7
8
9
10
11
12
13
14
15
16
17
<template>
    <div>
    	<!--
    	The copied navbar
    	code goes here
    	-->
    </div>
</template>

<script>
export default {
  name: 'MainNavigation',
};
</script>

<!-- Add "scoped" attribute to limit CSS to this component only -->
<style scoped></style>
Now, to have Vue render our new component on the screen, we need to import it. We’ll do that inside the App.vue file, namely in its <script> tag:
import MainNavbar from './components/MainNavbar.vue';
After importing the MainNavbar component, we’ll list it in the components key of App.vue file’s export default statement.
We’ll also need to render the <main-navbar> element inside the <template> tag of the App.vue file.
Putting all of this together, our App.vue file needs to be updated to the following code:
1
2
3
4
5
6
7
8
9
10
11
12
13
14
15
16
17
18
19
20
21
<template>
  <div id="app">
    <main-navbar></main-navbar>
    <calorie-counter msg="Welcome to Calorie Counter Vue.js App" />
  </div>
</template>

<script>
import CalorieCounter from './components/CalorieCounter.vue';
import MainNavigation from './components/MainNavigation.vue';

export default {
  name: 'App',
  components: {
    CalorieCounter,
    MainNavigation,
  },
};
</script>

<style></style>
Now we can save our changes; our app now updates to this:
Restarting our app
Now comes a fun part of our introduction to Vue and BootstrapVue. Let’s shut down our app, close the console, and even restart our machine. The goal here is to see what would happen to our project if we were to shut down the computer and, for example, try running it again the next day.
Once we’ve navigated to the calories folder, we can run, as described, the npm run serve -- --port 4567 command.
The project will start being built, but then, due to the way it’s set up, we might get the following error message:
> vue-cli-service serve "--port" "4567"

 INFO  Starting development server...
98% after emitting CopyPlugin

 ERROR  Failed to compile with 1 errors

 error  in ./src/components/MainNavigation.vue

Module Error (from ./node_modules/eslint-loader/index.js):

/home/awv/calories/src/components/MainNavigation.vue

   2:3   error  Delete `··`
   4:1   error  Delete `··`
   6:7   error  Delete `··`
.
.
.

✖ 17 problems (17 errors, 0 warnings)
  17 errors and 0 warnings potentially fixable with the `--fix` option.


 @ ./node_modules/cache-loader/dist/cjs.js??ref--12-0!./node_modules/babel-loader/lib!./node_modules/cache-loader/dist/cjs.js??ref--0-0!./node_modules/vue-loader/lib??vue-loader-options!./src/App.vue?vue&type=script&lang=js& 9:0-61 14:20-34
 @ ./src/App.vue?vue&type=script&lang=js&
 @ ./src/App.vue
 @ ./src/main.js
 @ multi (webpack)-dev-server/client?http://192.168.1.179:4567&sockPath=/sockjs-node (webpack)/hot/dev-server.js ./src/main.js
The three vertical dots in the above snippet of reported errors are put there to “shorten the output” - it was kind of pointless putting out the entire contents of the error. It’s enough just to be aware of the error being there and how it looks.
Now, we have the “problem” of fixing this error. It’s very easy to do:
npm run lint --fix

> calories@0.1.0 lint /home/awv/calories
> vue-cli-service lint

The following files have been auto-fixed:

  src/components/MainNavigation.vue

 DONE  All lint errors auto-fixed.
That’s it! All 17 errors are now gone, and we can serve our site again. Here’s the serve command an its output in the console:
npm run serve -- --port 4567

> calories@0.1.0 serve /home/<username>/calories
> vue-cli-service serve "--port" "4567"

 INFO  Starting development server...
98% after emitting CopyPlugin

 DONE  Compiled successfully in 2597ms


  App running at:
  - Local:   http://localhost:4567/
  - Network: http://192.168.1.179:4567/

  Note that the development build is not optimized.
  To create a production build, run npm run build.
Finally, it would serve us well to see just what kinds of changes were preformed by the linting tool. We can track our changes with git - but working with git is a story for another tutorial.
Conclusion
In this first tutorial on building Vue 2 apps, we’ve learned a number of basic concepts. These concepts will be useful for all our development with the Vue.js framework.
In the next tutorial in this series, we’ll rebuild a Bootstrap 4 example with BootstrapVue.

