Building the simplest possible React app
Let's learn what React is, what tools we need to use to get started with it, and build a very simple app in React
By: Ajdin Imsirovic 20 January 2022
In this series of articles, we’ll be learning React from scratch.
In this article, we’ll cover several things related to getting started properly with React. This will make our lives easier as we get into some more advanced concepts later on it this guide.
Table of contents
- What is React?
- Install React Developer Tools in your Browser
- Let’s build the simplest possible React app
- Run our default React app and examine it in the browser
- Inspecting the app using React Developer Tools
- What happens when we run the npx create-react-app command?
- Understanding our default React app’s folder and file structure
- Inspecting the contents of package.json
- Altering the default app
What is React?
React is a library for the web, written in the JavaScript language.
The purpose of this library is to code the UI of our websites.
Install React Developer Tools in your Browser
Let’s get right into it.
To be more efficient working with React, I highly recommend installing React Developer Tools in your browser of choice.
Mine is Chrome, and since it is by far the most popular browser, it’s the only one we’ll cover.
Let’s visit the Chrome extensions website, and navigate to React Developer Tools.
We’ll install it by clicking on the Add to Chrome button.

Once it’s intalled in your browser, you have it available in the list of chrome extensions, and to have a handy shortcut icon for easy access, you can click the gray puzzle piece icon in the top right corner of the Chrome browser. This will open a dropdown where you can then pin it for the extensions’ shortut icon to appear.
Next, let’s open a live site that we know for a fact is using React: the official docs site: https://reactjs.org/.
Notice how the React extension’s icon changes color from a washed out, light gray version (on sites where React is not used), to the full-color version on sites like the official docs site (where React is used).
Let’s build the simplest possible React app
To do this, we’ll use a very popular tool: Create React App.
Before we can use this tool, we need to be sure that our system has the minimal required versions of Node.js and NPM installed, so let’s open a folder where we want to install our React app, and let’s open the bash console, pointing at this folder.
Now we’ll verify our versions of Node.js and NPM are within minimum requirements:
node --version && npm --versionIn my case, I got the following output:
v14.16.0
7.11.1
The minimum requirements as of October 2021 are at least 14.0.0 for Node.js and 5.6 for NPM, so we’re good to go.
Next, we’ll use the npx utility to run create-react-app. Note that npx stands for “Node package executable”.
Here’s the code we’ll run:
npx create-react-app simplestRunning the above command produces the following output:
Need to install the following packages:
  create-react-app
Ok to proceed? (y)
The (y) part means that pressing the y or the ENTER key will answer the question in the affirmative. So let’s do that, and the installation process will begin.
Here’s the output of this process:
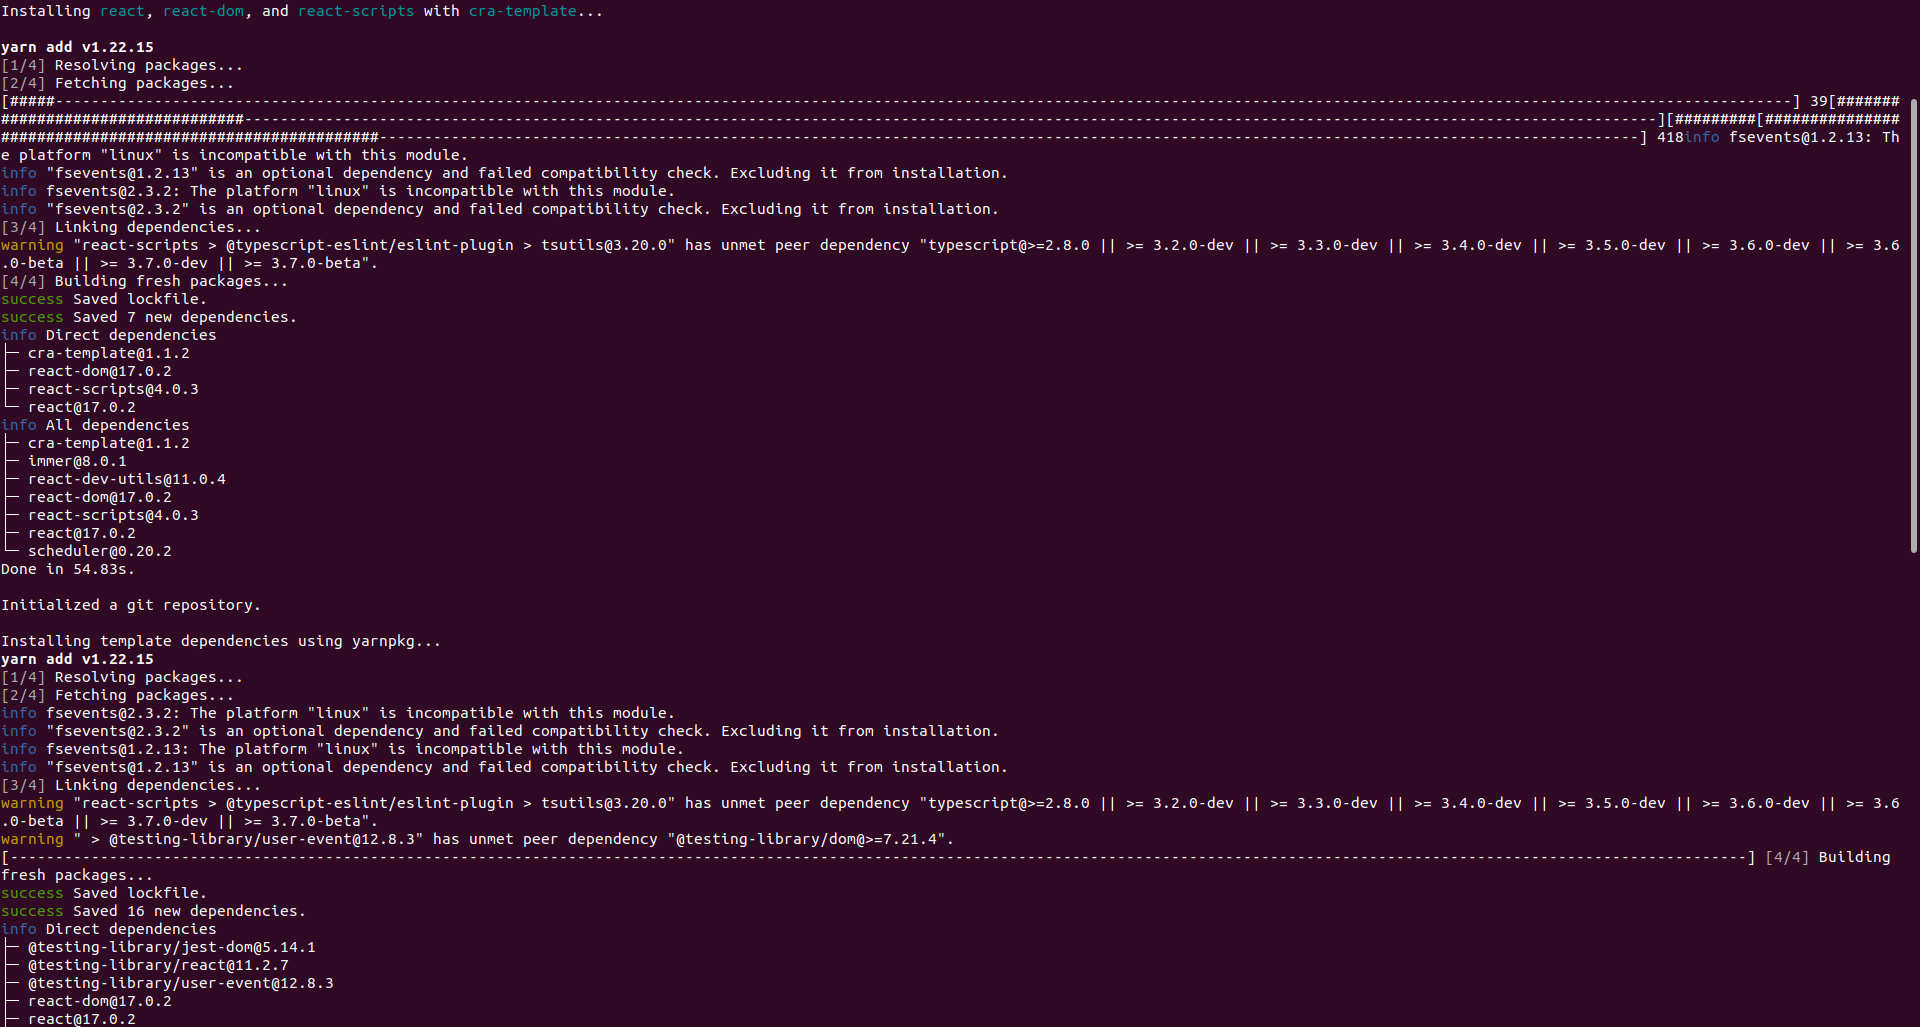
The entire output is about two HD screens tall.
The output completes with the following lines:
Created git commit.

Success! Created simplest at /home/pc/Desktop/simplest-react-app/simplest
Inside that directory, you can run several commands:

  yarn start
    Starts the development server.

  yarn build
    Bundles the app into static files for production.

  yarn test
    Starts the test runner.

  yarn eject
    Removes this tool and copies build dependencies, configuration files
    and scripts into the app directory. If you do this, you can’t go back!

We suggest that you begin by typing:

  cd simplest
  yarn start

Happy hacking!
Great! Everything is setup as expected. Let’s run this default app in the browser.
Run our default React app and examine it in the browser
Before we proceed futher, let’s inspect what is it that the npx create-react-app simplest command produced.
Let’s get our bash console window in focus, and run these two commands:
cd simplest
yarn start
Here’s the output in the console:
Compiled successfully!
You can now view simplest in the browser.
Local: http://localhost:3000
On Your Network: http://192.168.1.167:3000
Note that the development build is not optimized.
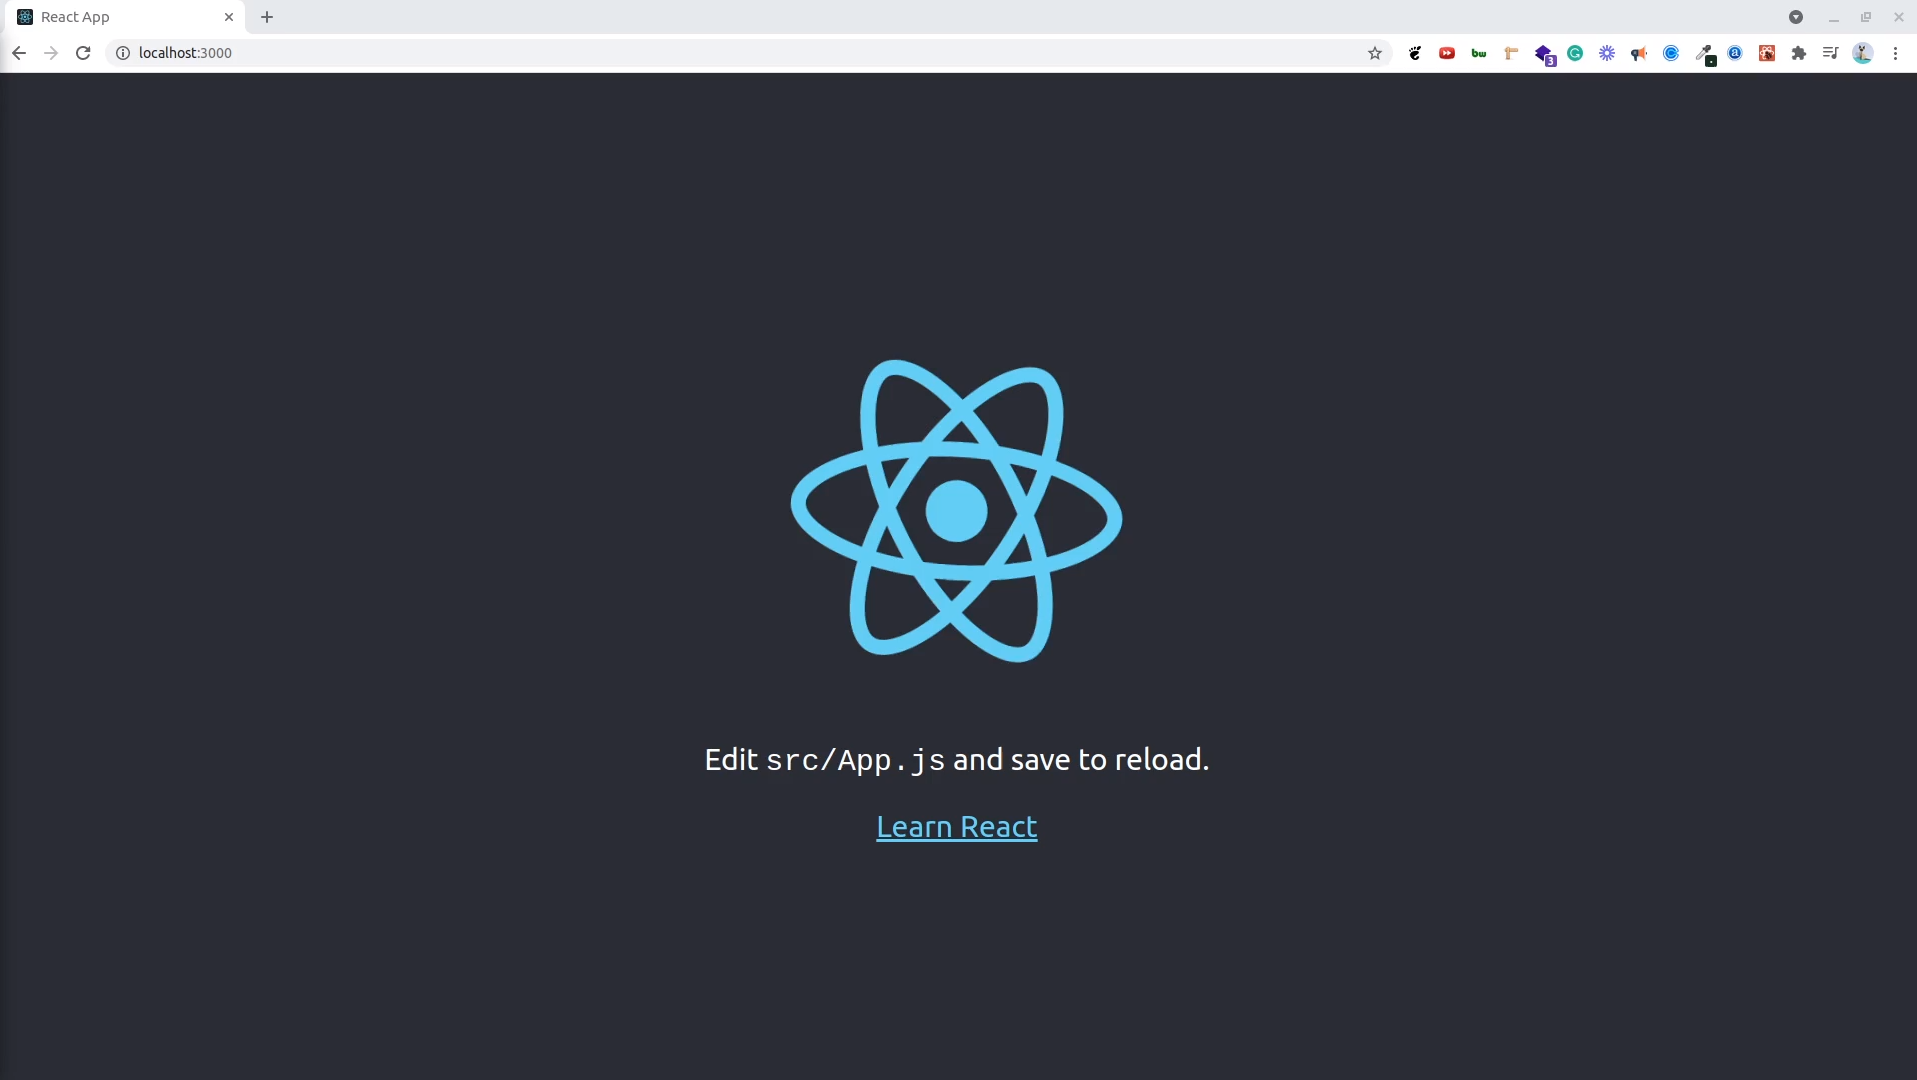
To create a production build, use yarn build.The yarn start command also opens our system’s default browser automatically. On my system, that default browser is Mozilla Firefox, but we can also open it in any other browser, by navigating to the following URL:
http://localhost:3000This is what should appear at the above URL.
Inspecting the app using React Developer Tools
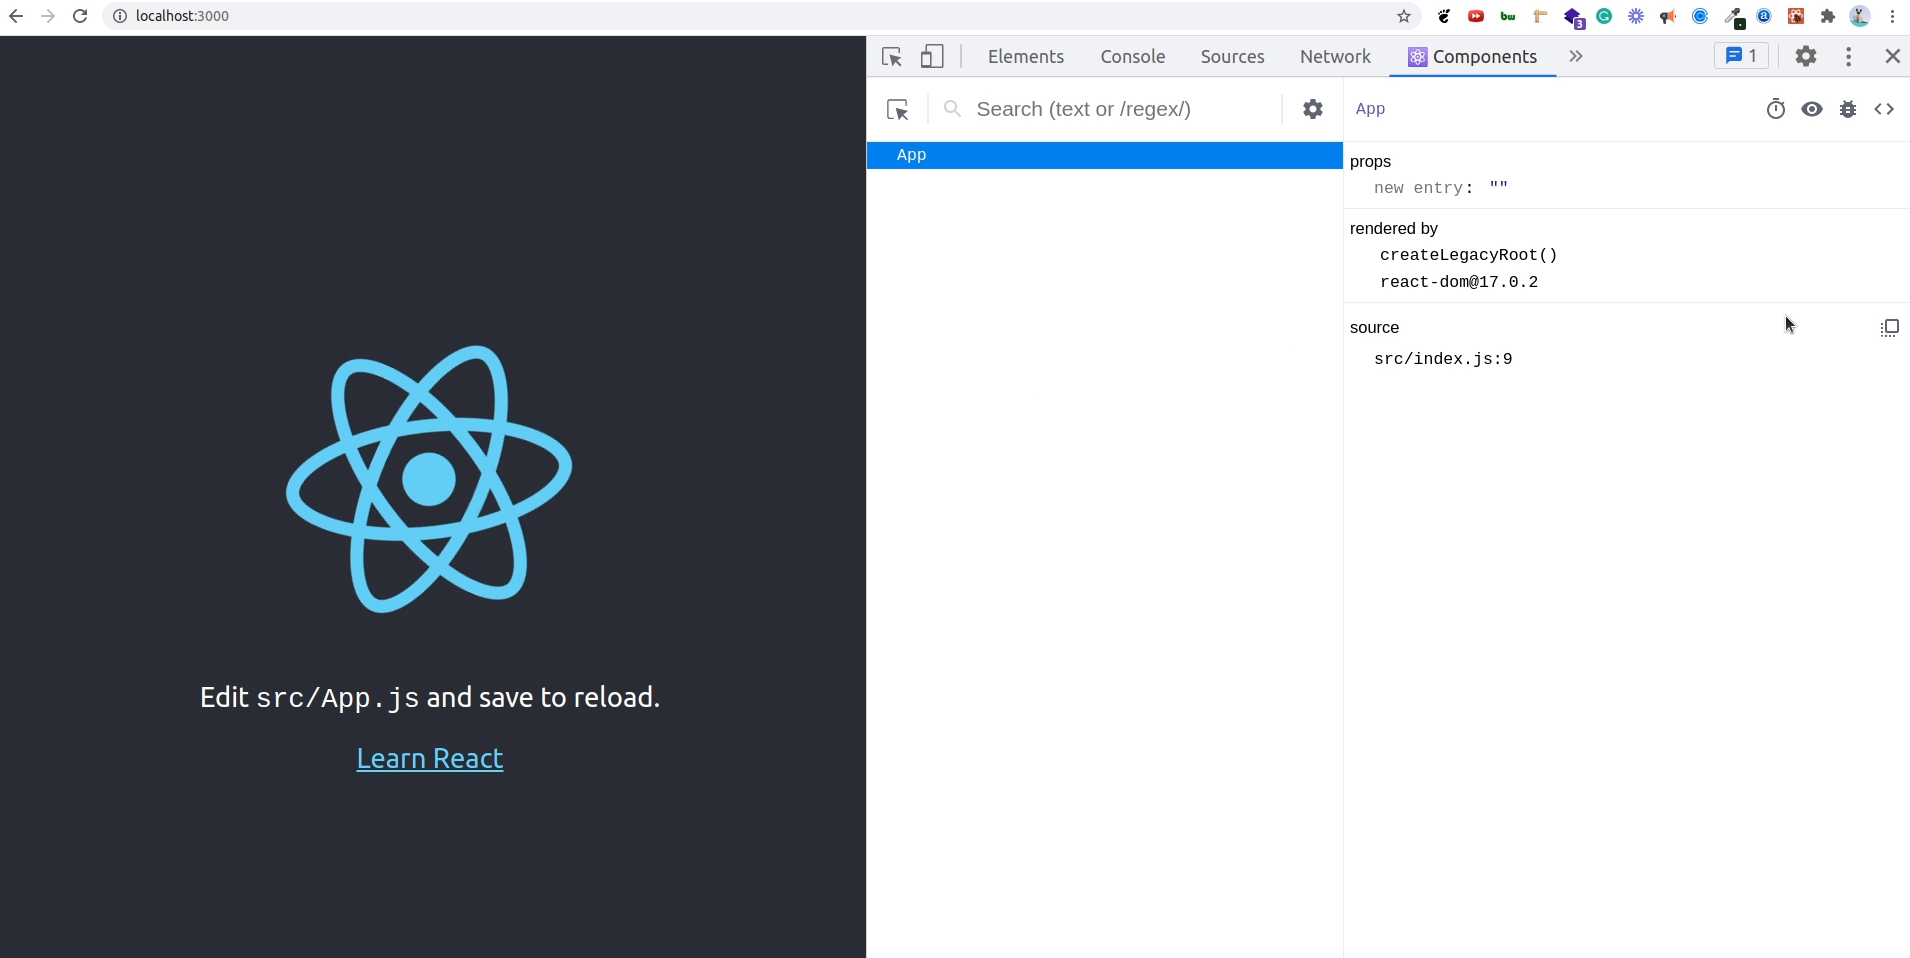
While we’re still in the browser, let’s also open React Developer Tools, to get a feel for how they look.
So let’s just press F12, or CTRL + SHIFT + i keyboard shortcut, or right click anywhere on the page and then choose the Inspect command on the contextual menu that pops up.
Either of the above ways of doing things will open up the Chrome browser’s developer tools. Now it’s just a matter of clicking on the Components tab to make it active.
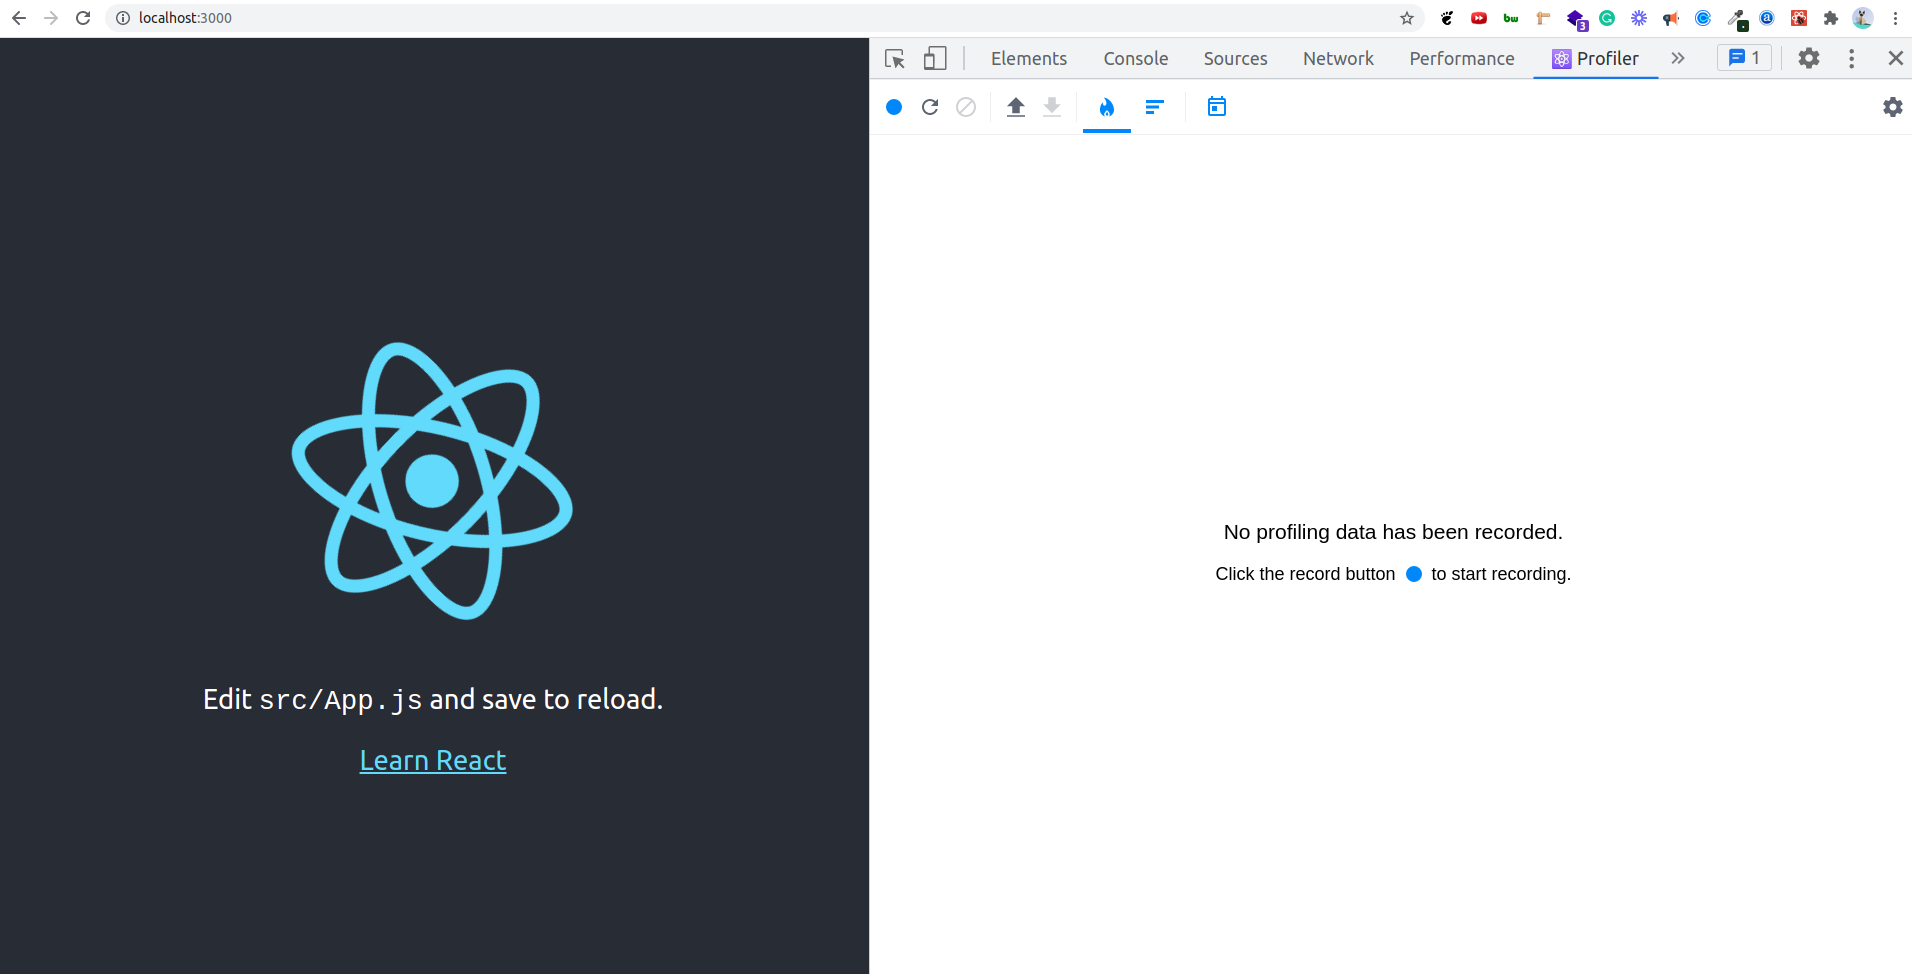
There’s also another tab that we can use, the Profiler tab. Here’s a screenshot of navigating to it.
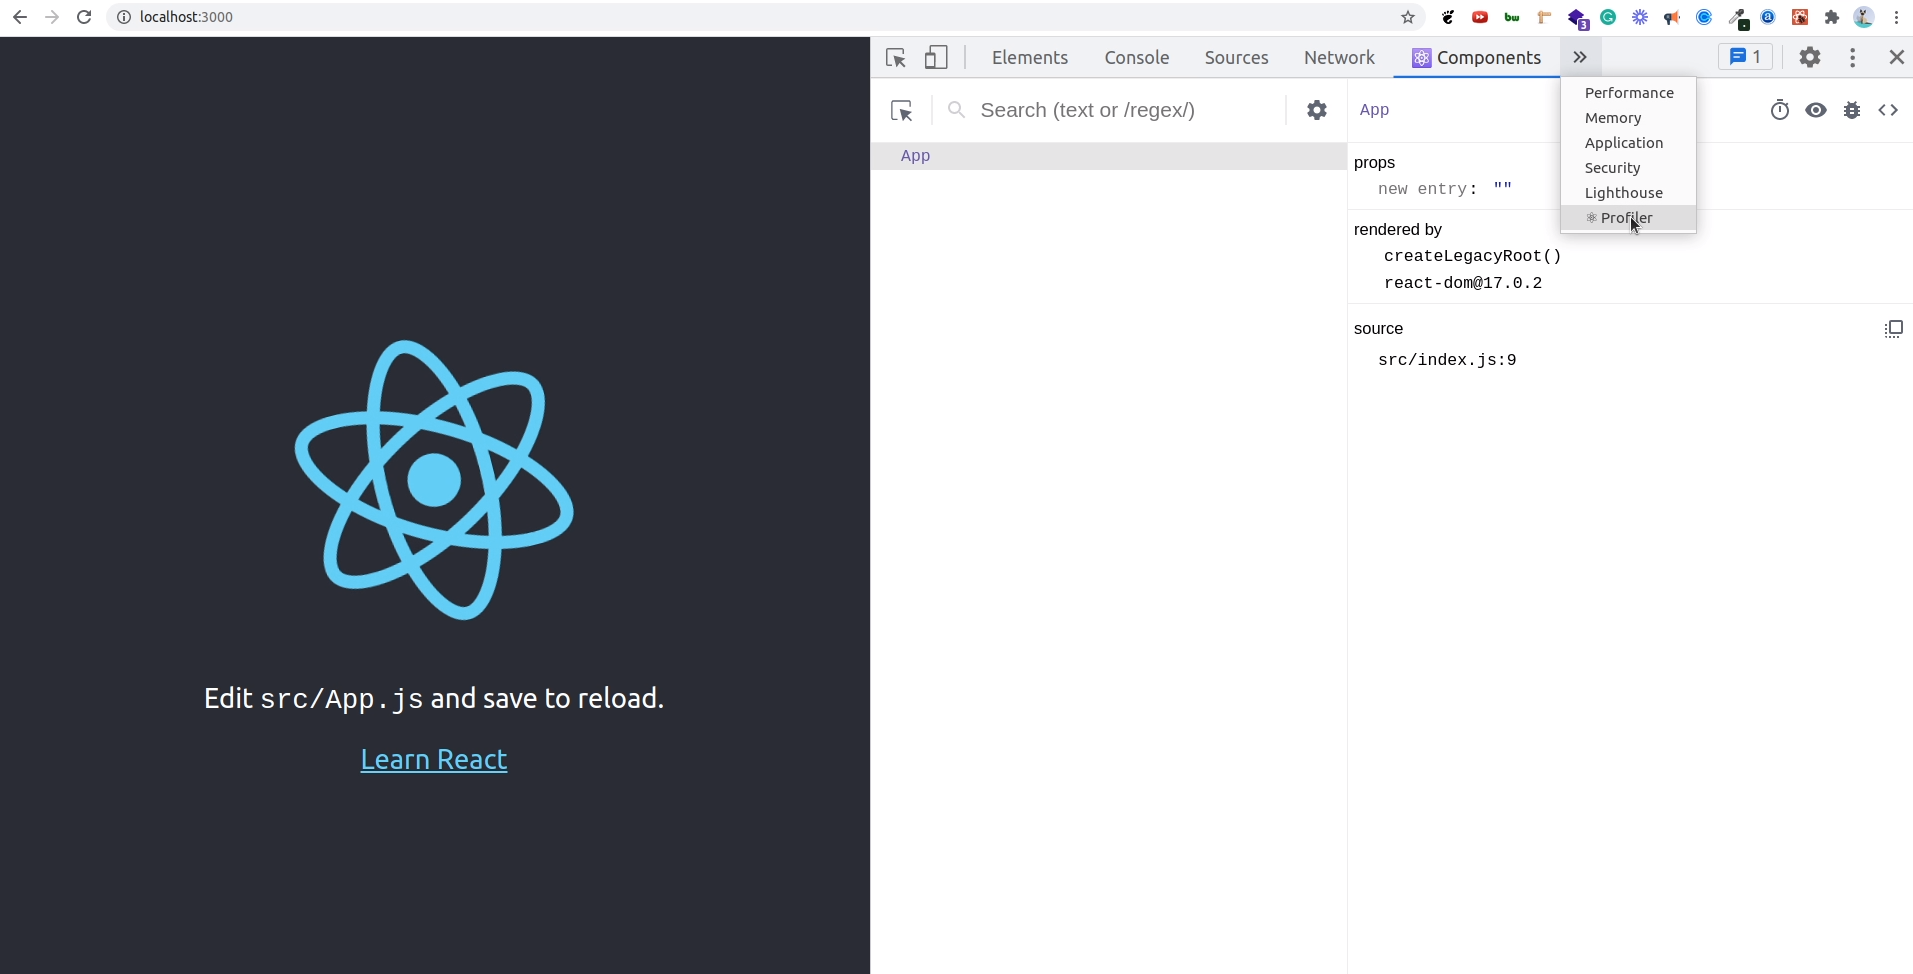
And here’s the screenshot of the Profiler tab being open.
Next, let’s discuss what happened when we ran the npx create-react-app <appName> command.
What happens when we run the npx create-react-app command?
Besides the simple prompt we got asked about continuing with the app setup, some additional important things happened when we ran the command from this section’s heading, namely:
- We got an entire copy of the React library and all its dependencies installed inside the
node_modulessub-directory of our project. We’ve named our projectsimplest, and thus the React library is saved insidesimplest/node_modules. - The default, barebones, starter React app gets installed in the
/srcfolder.
Next, let’s inspect the structure of our React app.
Understanding our default React app’s folder and file structure
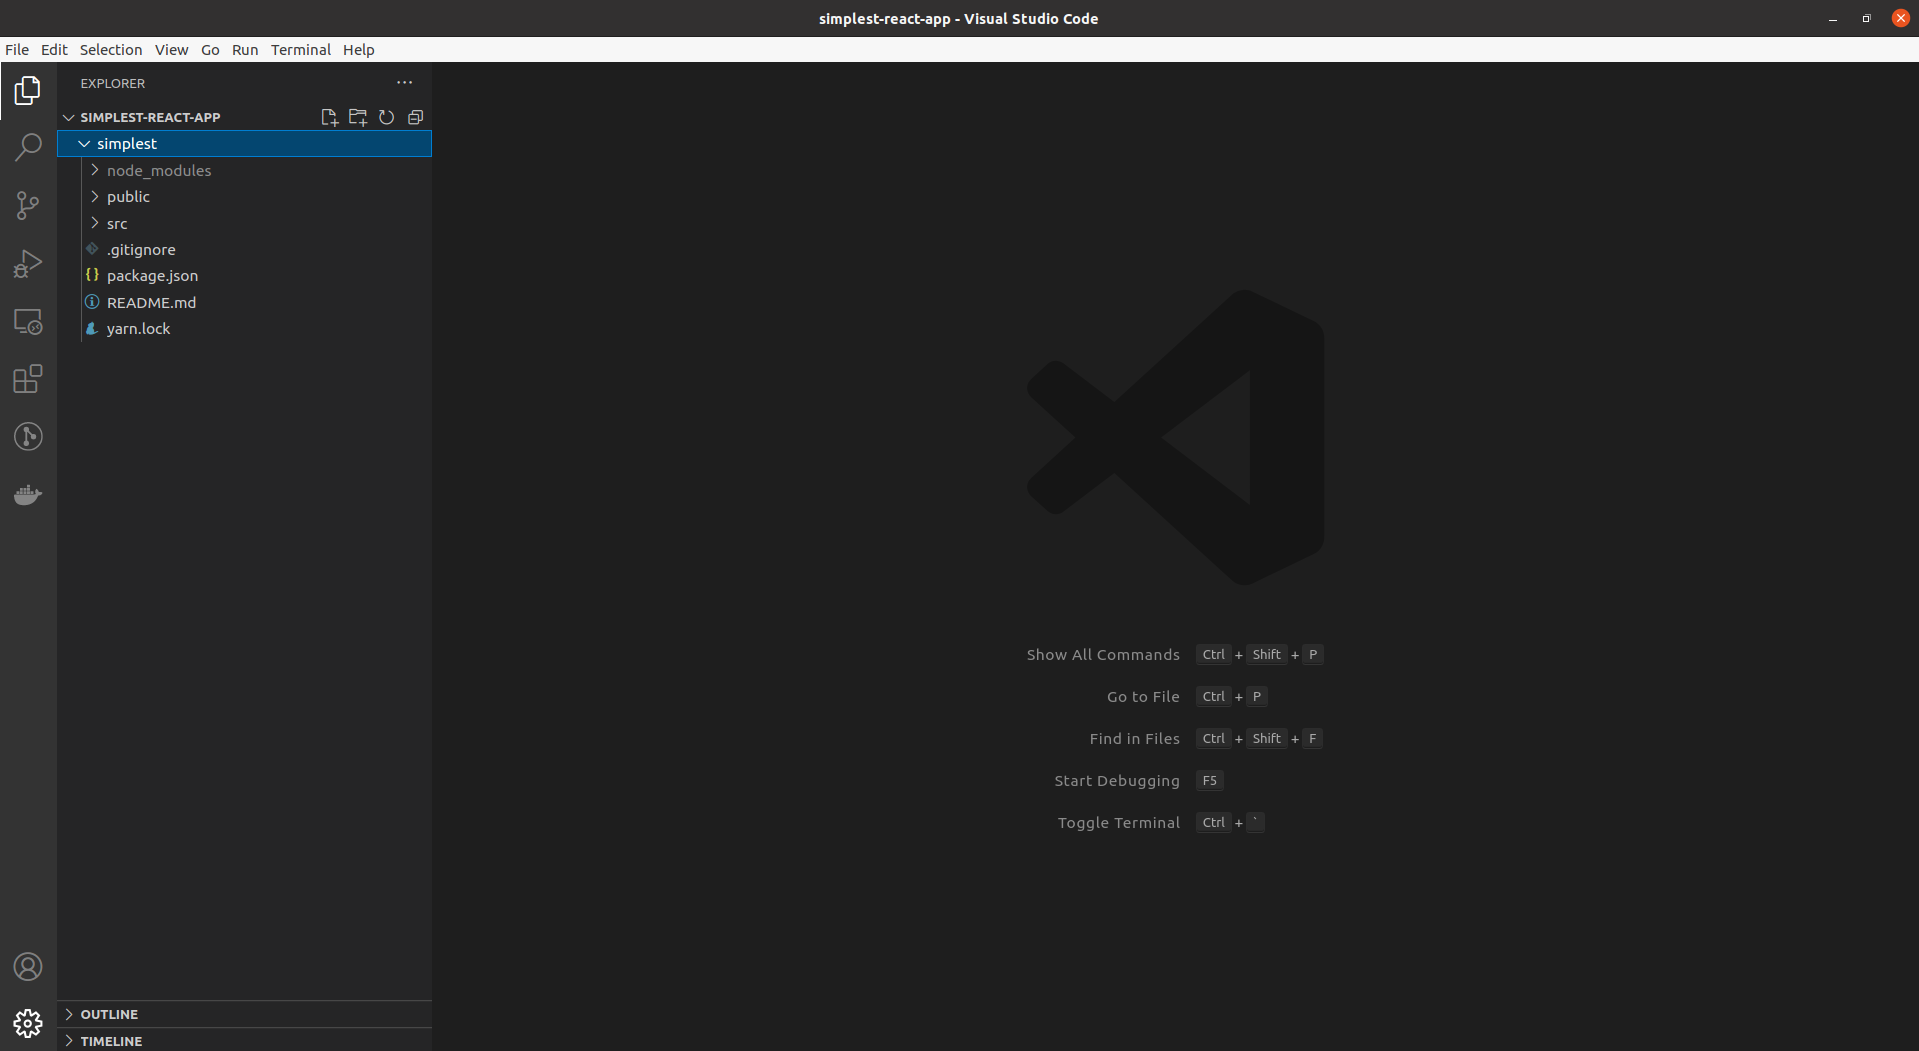
Now’s as good a time as any to examine the code behind the above screenshot. We can open the installed React app in our code editor: VS Code.
Still in the console, to open the entire project in VS Code, let’s run:
code .Right now, there are no files open, but we can see the structure of the entire app in the file explorer in the sidebar on the left:
Let’s have an overview of all the files and folders included in our React app, so that we have a good starting point for further exploration.
Our default React app has the following folders at the root of the project:
/node_modules/public/src
It also has the following files:
.gitignorepackage.jsonREADME.mdyarn.lock
As already discussed, the node_modules folder holds all the dependencies for the React library to work properly. The entire node_modules folder is added to the .gitignore file so that it does not get tracket by our version control software. The node_modules folder is a very large folder wih a huge number of modules.
The /public folder holds the following files:
favicon.icoindex.htmllogo192.pnglogo512.pngmanifest.jsonrobots.txt
The favicon.ico file is the little icon that will appear in our browser’s tab - when the app is open in the browser.
The index.html file is where React app will inject the entire code for the app, and where all the dynamic updates to the view will take place.
The logo192.png and logo512.png are just two versions of the same logo file (the one that rotates on the screen of the default React app).
The manifest.json file’s purpose is defined in one of the index.html file’s HTML comments:
1
2
3
4
5
<!--
    manifest.json provides metadata used when your web app is installed on a
    user's mobile device or desktop.
    See https://developers.google.com/web/fundamentals/web-app-manifest/
-->
Simply put, when a mobile user adds a shortcut to our app on the home screen of their phone or tablet, the manifest.json file is used as the source of information about names, colors to use, and the app’s icon on the home screen.
When our web app is added to user’s home screen, it is this metadata which determines the icon, theme colors, names, etc.
The robots.txt file instructs the search engine bots which URLs they can access on a website. This has more to do with “load balancing” than with preventing Google indexing. To block indexing, we use the noindex keyword - but that’s an SEO story - and it’s out of scope.
The /public folder holds the static files, which will not change when we upload them to production. This allows them to be cached once, and reused for as long as needed. In other words, webpack doesn’t update them on builds like it does with the files in the /src folder.
The /src folder holds the essence of our React app. That’s where all the dynamic files are. These files are updated by webpack by appending a unique hash whenever there’s a new build. This allows for cache busting.
The /src folder contains the following files:
App.cssApp.jsApp.test.jsindex.cssindex.jslogo.svgreportWebVitals.jssetupTests.js
The App.css file holds the styles for the App.js file (i.e for the App component).
The App.js file is the starter React component of our default app. It’s the root component of our default app. We’ll soon be updating it.
The App.test.js file is the file for testing our starter app.
The index.css file holds general styles - styles not related to any particular component.
The index.js file is used to render the component. We can also optionally use it for service worker registration. This is the first file that gets run whenever we refresh our web app in the browser.
The logo.svg file is the logo file (used by App.js in the starter app).
The reportWebVitals.js file is using a third-party library to measure the performance of our app in relation to the UX for our site’s visitors.
The setupTests.js file is used for running tests from the cli.
The overall configuration for the React project is outlined in the package.json. Below is what that looks like:
Inspecting the contents of package.json
Another way to get a quick overview of our app is to inspect the package.json file.
Here’s how this file looks like in our starter app:
1
2
3
4
5
6
7
8
9
10
11
12
13
14
15
16
17
18
19
20
21
22
23
24
25
26
27
28
29
30
31
32
33
34
35
36
37
38
{
  "name": "simplest",
  "version": "0.1.0",
  "private": true,
  "dependencies": {
    "@testing-library/jest-dom": "^5.11.4",
    "@testing-library/react": "^11.1.0",
    "@testing-library/user-event": "^12.1.10",
    "react": "^17.0.2",
    "react-dom": "^17.0.2",
    "react-scripts": "4.0.3",
    "web-vitals": "^1.0.1"
  },
  "scripts": {
    "start": "react-scripts start",
    "build": "react-scripts build",
    "test": "react-scripts test",
    "eject": "react-scripts eject"
  },
  "eslintConfig": {
    "extends": [
      "react-app",
      "react-app/jest"
    ]
  },
  "browserslist": {
    "production": [
      ">0.2%",
      "not dead",
      "not op_mini all"
    ],
    "development": [
      "last 1 chrome version",
      "last 1 firefox version",
      "last 1 safari version"
    ]
  }
}
In the above JSON file:
nameis the name of our app (i.e the argument we passed to thecreate-react-appcommand)versionis our app’s versiondependenciesholds the modules our app needs to run; these dependencies are required by our react app from thenode_modulesfolderscriptsholds all the alias (shorthand) commands we can use to perform certain tasks, for examplestartas the abbreviated version ofreact-scripts start- the
eslintConfigis there to add custom configurations for linting our files - the
browserslistholds all the browsers that the production build should be compatible with - the
developmentlists all the browsers that the development build should be compatible with
Arguably, the most important part of the above JSON file is the dependencies entry, listing our apps dependencies:
- the jest-dom testing library
- the react testing library
- the user-event testing library
- the three core react libraries: react, react-dom, and react-scripts
- the web-vitals library
Altering the default app
Let’s now play around with our default app.
We’ll begin in an unlikely place: By passing the console.log as the parameter to the reportWebVitals() method at the very bottom of the index.js file:
1
reportWebVitals(console.log);
Next, let’s open the app in the browser at localhost:3000 and inspect the console.
Here’s what we’ll get:
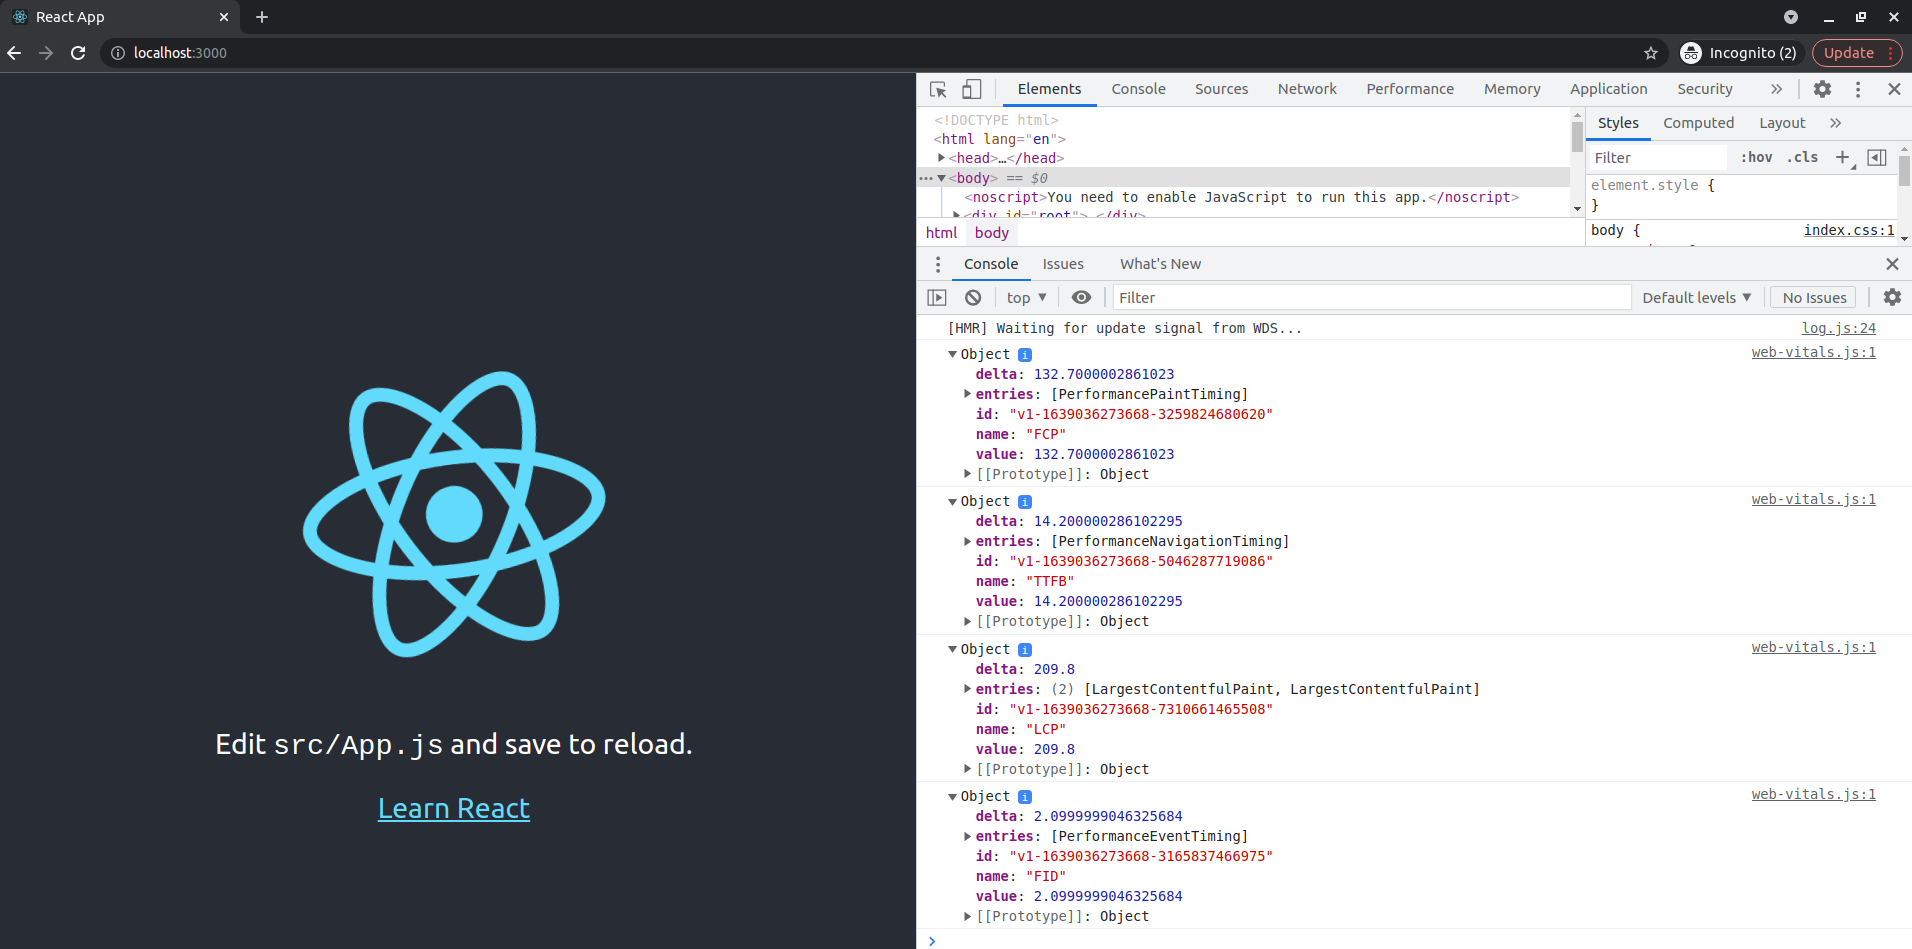
Alright, so now we’re at least somewhat familiar with what the web vitals does, let’s take a completely different approach, and comment out as much of the index.js file as we can:
1
2
3
4
5
6
7
8
9
10
11
12
13
14
15
16
17
//import React from 'react';
import ReactDOM from 'react-dom';
//import './index.css';
import App from './App';
//import reportWebVitals from './reportWebVitals';

ReactDOM.render(
  //<React.StrictMode>
    <App />
  //</React.StrictMode>,
  , document.getElementById('root')
);

// If you want to start measuring performance in your app, pass a function
// to log results (for example: reportWebVitals(console.log))
// or send to an analytics endpoint. Learn more: https://bit.ly/CRA-vitals
// reportWebVitals(console.log);
In other words, without all the fluff, we’re boiling down our file to this:
1
2
3
4
5
6
import ReactDOM from 'react-dom';
import App from './App';

ReactDOM.render(
    <App />, document.getElementById('root')
);
What we’re doing above is, we’re “mounting” our React app into the element of the DOM that has the id attribute set to root.
We’re at the bare minimim now in our index.js file. Notably, we’re not even importing React itself.
We’re only using the ReactDOM library in index.js.
Let’s simplify the app even further, by deleting the logo.svg file.
Now we need to reflect this change in App.js. Here’s the original file:
1
2
3
4
5
6
7
8
9
10
11
12
13
14
15
16
17
18
19
20
21
22
23
24
25
import logo from './logo.svg';
import './App.css';

function App() {
  return (
    <div className="App">
      <header className="App-header">
        <img src={logo} className="App-logo" alt="logo" />
        <p>
          Edit <code>src/App.js</code> and save to reload.
        </p>
        <a
          className="App-link"
          href="https://reactjs.org"
          target="_blank"
          rel="noopener noreferrer"
        >
          Learn React
        </a>
      </header>
    </div>
  );
}

export default App;
And here’s the updated, minimalist version:
1
2
3
4
5
6
7
8
9
10
11
// import './App.css';

function App() {
  return (
    <div className="App">
      Hello World!
    </div>
  );
}

export default App;
Now our app is as simple as it can get. We could, optionally, remove the testing files and the webVitals.js file altoghter, but that would probably be too much. After all, at this time, we’re focusing on the actual code that will be included in the rendering on the screen.
The result of our updates now looks as follows:
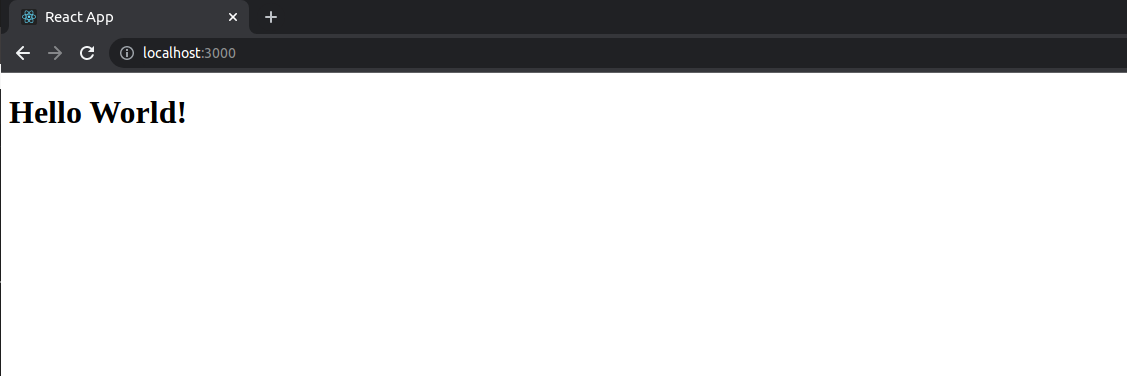
This is as simple as it can get.
There’s another way to use React: with a CDN, which we’ll do next.

