How to prototype Bootstrap 4 layouts with Angular 8, part 1
In this post, we're looking at how to work with the accordion component
By: Ajdin Imsirovic 24 August 2019
In this article, it is assumed that you understand the basics of how components in Angular fit together.
 Photo by Jose Alejandro Cuffia on Unsplash
In this article, we’ll be looking at 2 example apps. The first app is showing the bare minimum of changes that you should add to a Stackblitz Angular app in order to have an easy-to-use basis. The second app is showing a more detailed example that builds on top of the first example app.
View the first example app on Stackblitz
Since the first example app is not that complicated, we’ll look at the finished version of the app first.
Here’s the link.
Next, we’ll describe all the steps we took to get from the starter Angular Stackblitz app to the finished first example.
From the barebones Stackblitz app to the finished first example
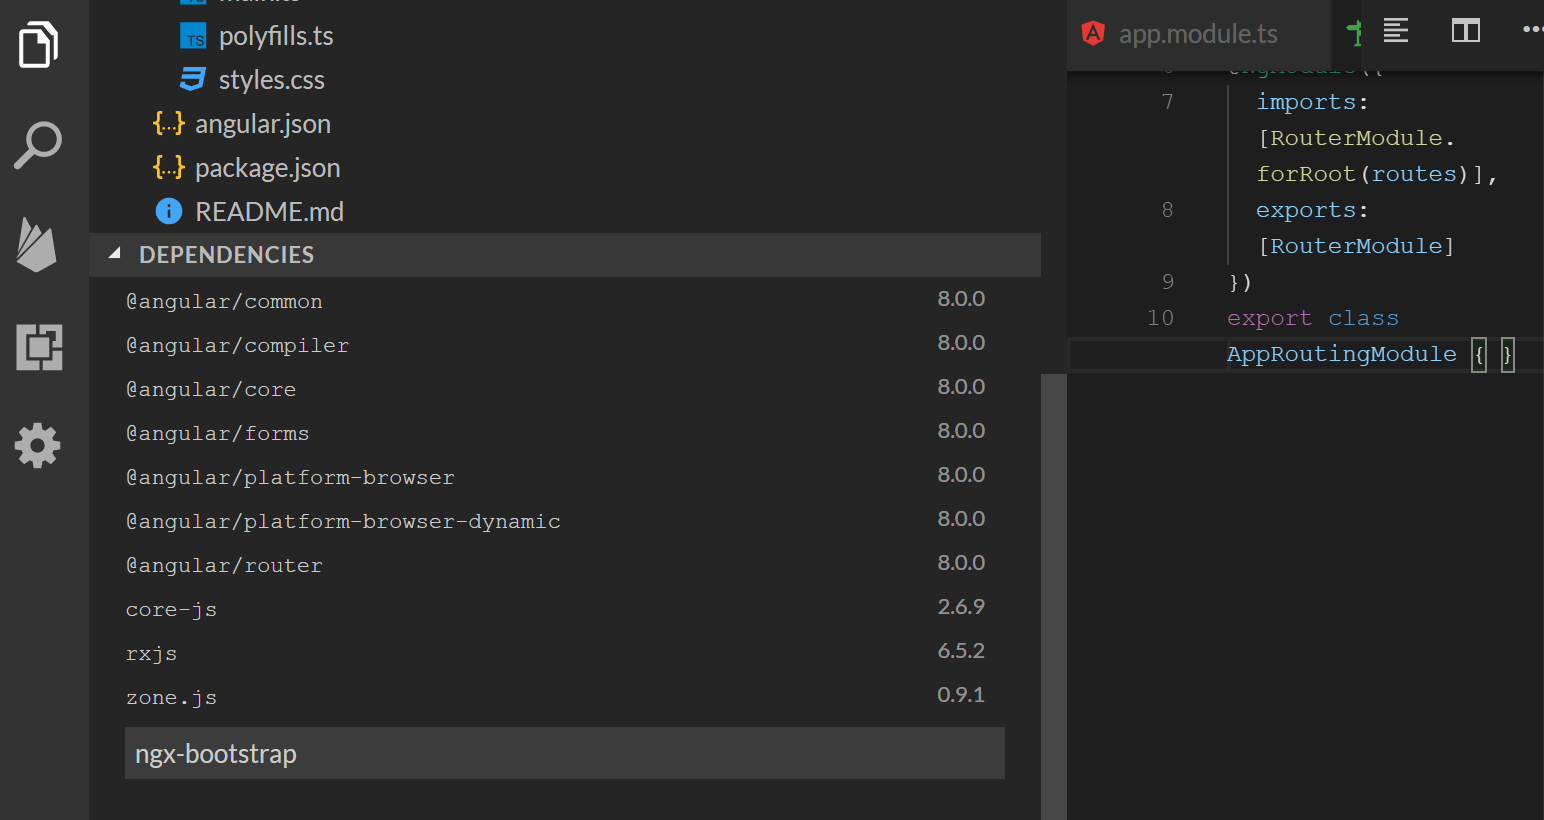
Step 1: Add app-routing.module.ts
In the src/app/ folder, add a new file, call it app-routing.module.ts, and add the following code to it:
1
2
3
4
5
6
7
8
9
10
import { NgModule } from '@angular/core';
import { Routes, RouterModule } from '@angular/router';

const routes: Routes = [];

@NgModule({
  imports: [RouterModule.forRoot(routes)],
  exports: [RouterModule]
})
export class AppRoutingModule { }
Step 2: Import the app-routing.module.ts into the app.module.ts, and use it
Back inside app.module.ts, we need to import the newly-added routing module. At the top of the file, at the bottom of the list of imports, add the following line:
import { AppRoutingModule } from './app-routing.module';Still inside app.module.ts, in order to tell the AppModule class to use the AppRoutingModule, we need to add it to the list of imports:
imports: [ BrowserModule, FormsModule, AppRoutingModule ],Next, we’ll add Bootstrap to our app.
Step 3: Add Bootstrap 4 dependency
Stackblitz makes it really easy to add a dependency to it. One such dependency is npx-bootstrap, which is simply an Angular-adjusted implementation of Bootstrap.
Why use ngx-bootstrap instead of regular Bootstrap? The main reason is that Angular doesn’t use jQuery, but rather has it’s own implementation of the JavaScript functionality in Bootstrap. An example of this is the navbar and its toggle button.
We are not really concerned with this at the moment because our focus is on just adding components rather than building fully functional pages.
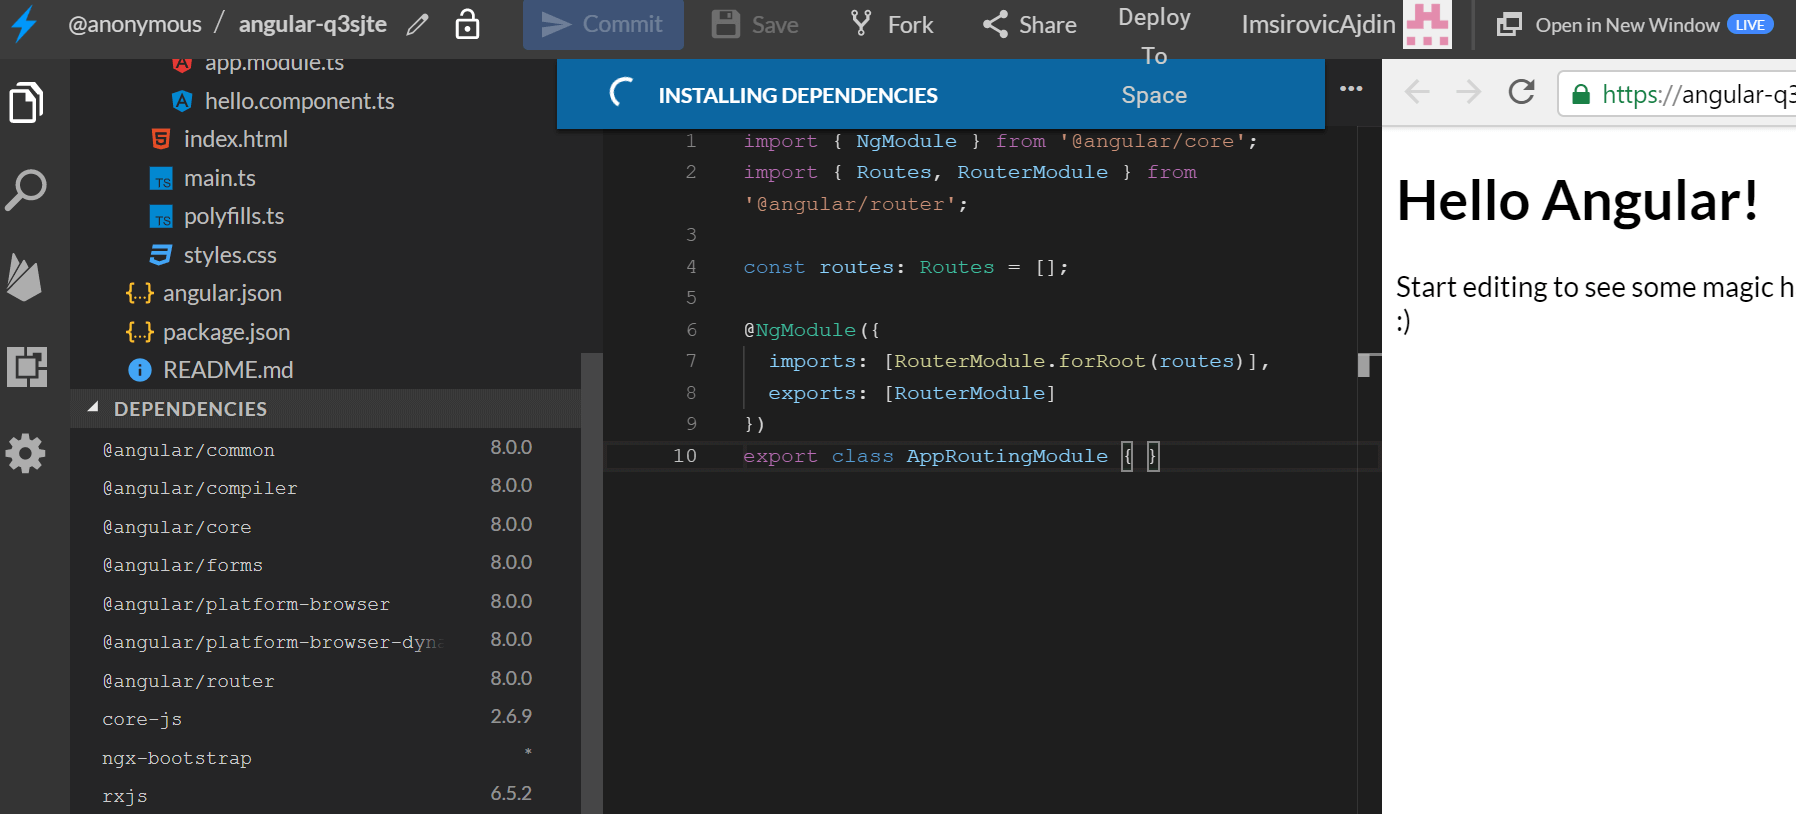
Like we mentioned at the beginning of this section, with Stackblitz, it is really easy to add a dependency to our Angular projects. In a local development environment, we’d need to use NPM to install any additional dependency. On Stackblitz, we just click the “DEPENDENCIES” dropdown, and type the package name, like in the following image:
Now we’ll simply press the ENTER key to have the dependency added. Doing so will make a notification appear at the very top of the app, updating us on the progress of the installation of the new dependency.
Once done, our ngx-bootstrap dependency shows in the list of other dependencies in the dependency dropdown.
Next, we’ll add our first component.
Step 4: Add a Bootstrap component
In this step, we’ll add an accordion component.
The documentation for the ngx-bootstrap accordion component is available here.
To add this accordion component, we’re going to need at least 2 files: the template file, and the component file. We’ll also group these files into a separate folder.
Thus, we first need to add a new folder in Stackblitz. To do that, hover over the app folder, and right-click on it. This will make a contextual menu appear.
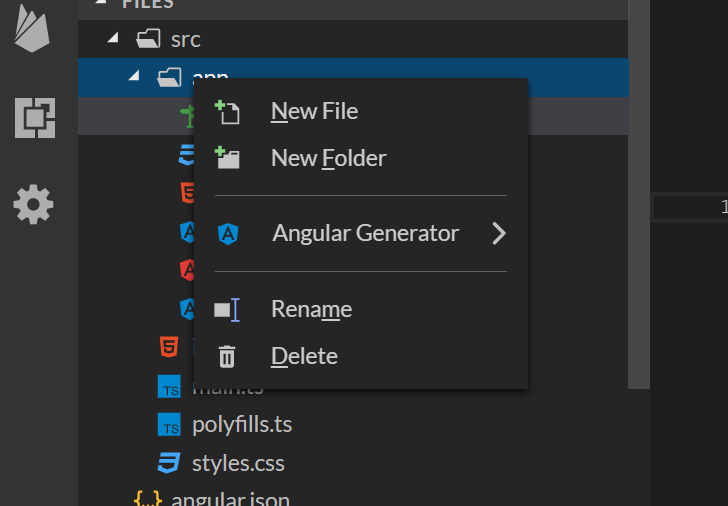
Now, simply click on the “New Folder” command, and type the new folder name: accordion.
To add a new file to our new accordion folder, we hover over the folder, right-click it, and click on the “New File” command, then type the name of our new file. We’ll be adding two files:
accordion.component.tsaccordion.component.html
We’ll be copying the actual code from the official ngx-bootstrap accordion’s documentation page, available here: https://valor-software.com/ngx-bootstrap/#/accordion#basic-accordion.
This is the code for the accordion.component.ts file:
1
2
3
4
5
6
7
import { Component } from '@angular/core';

@Component({
  selector: 'demo-accordion-basic',
  templateUrl: './accordion.component.html'
})
export class DemoAccordionBasicComponent {}
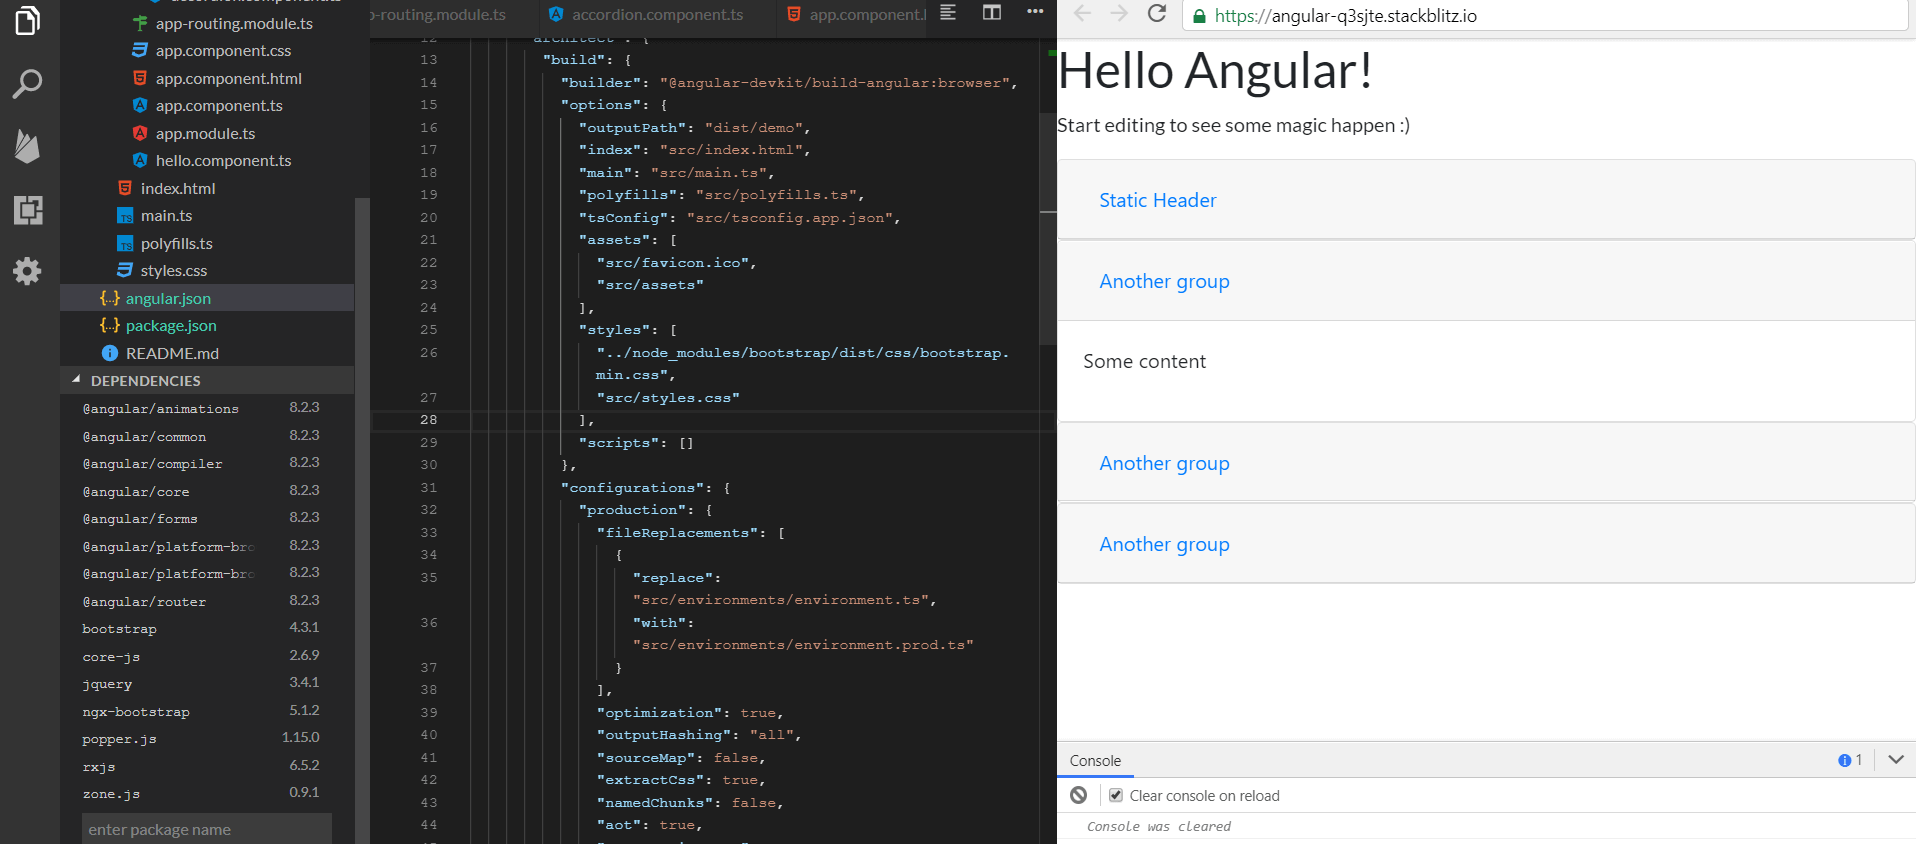
This is the code for the accordion.component.html file:
1
2
3
4
5
6
7
8
9
10
11
12
13
14
<accordion>
  <accordion-group heading="Static Header">
    This content is straight in the template.
  </accordion-group>
  <accordion-group heading="Another group">
    <p>Some content</p>
  </accordion-group>
  <accordion-group heading="Another group">
    <p>Some content</p>
  </accordion-group>
  <accordion-group heading="Another group">
    <p>Some content</p>
  </accordion-group>
</accordion>
Note that we could have added two additional files to our accordion folder, namely:
accordion.component.css(an optional component-specific CSS file)accordion.component.spec.ts(a unit-testing file)
Adding these files is optional, and since we’re trying to keep things simple, we’re choosing not to add them.
Now that we’ve built our accordion file, we need to use it. We’ll do that next.
To view the code of our app so far, refer to this Github commit.
Step 5: Display the newly-added Bootstrap component in our AppComponent
We’ll add the new DemoAccordionBasicComponent to our AppComponent.
To do that, we simply need to add a custom html element, whose name corresponds to the value of the selector key inside the @Component decoration in the accordion.component.ts file.
In other words, we need to add the following line of code to app.component.html:
1
<demo-accordion-basic></demo-accordion-basic>
After adding the above code to app.component.html and saving it, we’ll see the following error in the web page preview:
...
Template parse errors:
'demo-accordion-basic' is not a known element:
1. If 'demo-accordion-basic' is an Angular component, then verify that it is part of this module.
...
We can ignore the rest of the error message, because the solution of our error is right there: we need to add the demo-accordion-basic element to the AppModule, so that the app.component.html template file is aware of it.
To do that, we’ll go to the app.module.ts file, and add the exported class name to our declarations array inside the @NgModule decorator:
declarations: [ AppComponent, HelloComponent, DemoAccordionBasicComponent ],Of course, to have the component available in declarations, we still need to import it inside app.module.ts. At the bottom of the list of imports, add the following line:
import { DemoAccordionBasicComponent } from './accordion/accordion.component';When we save everything, we’ll get another template parse error. This one reads:
Template parse errors:
'accordion-group' is not a known element:
1. If 'accordion-group' is an Angular component, then verify that it is part of this module.
Similar to the previous error, we can safely ignore the rest of the error as the solution is obvious. Angular doesn’t recognize the <accordion-group> custom HTML element. To add it, we’ll need to import it into the module, like this:
import { AccordionModule } from 'ngx-bootstrap/accordion';Of course, we also need to add it to the imports array:
imports: [ BrowserModule, FormsModule, AppRoutingModule, AccordionModule ],We can see that we’re getting somewhere because our template parse errors are gone and we are greeted with the Can't find package error:
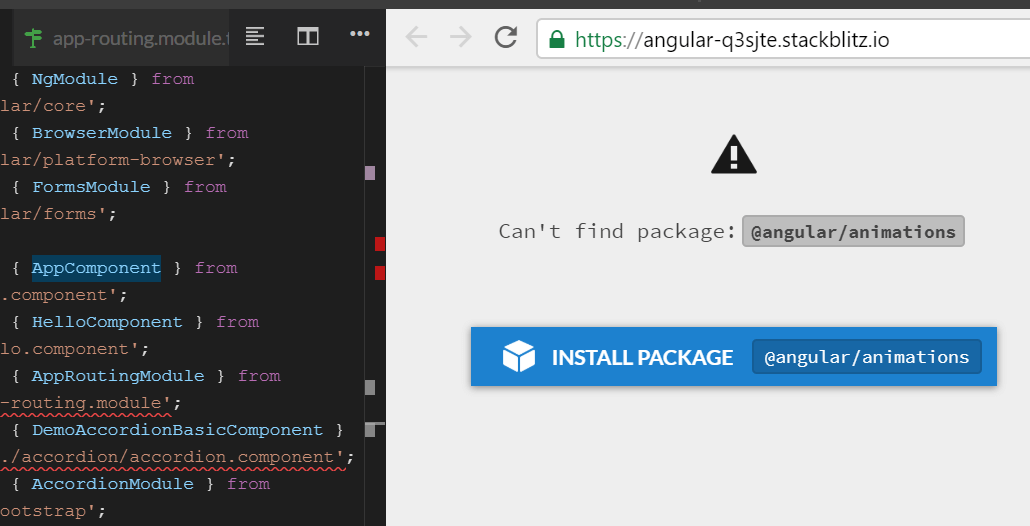
This time, our fix is to just click the blue-colored “Install package” button.
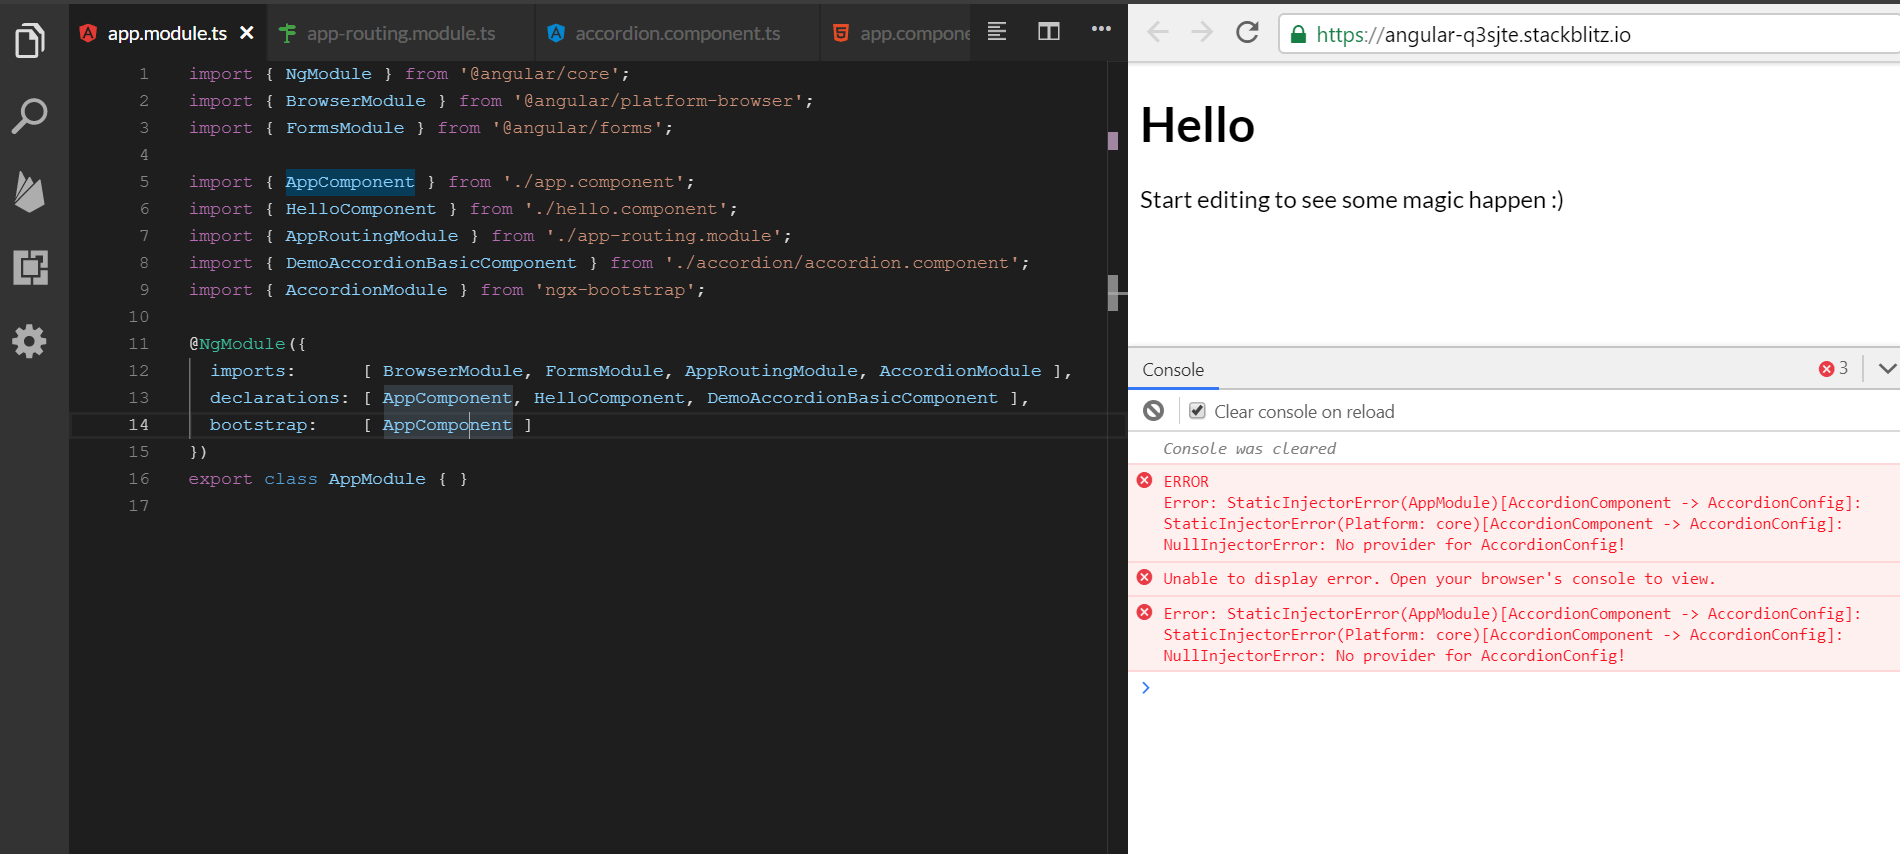
Now our app loads successfully, but the <demo-accordion-basic> custom HTML element is not showing on the page.
To understand the issue, we can click on the console toggle in the bottom right corner of the browser window. This will make the built-in Stackblitz console visible. We can now see another error:
NullInjectorError: No provider for AccordionConfig!
Here is the screenshot with our current error:
To fix this, we need to add the forRoot() method to our AccordionModule import, like this:
imports: [ BrowserModule, FormsModule, AppRoutingModule, AccordionModule.forRoot() ],This will throw another error: NullInjectorError: No provider for AnimationBuilder!.
To fix this, we can refer to this StackOverflow answer.
The fix is simple enough: import the BrowserAnimationsModule. First we’ll add it to the imports array:
imports: [ BrowserModule, FormsModule, AppRoutingModule, AccordionModule.forRoot(), BrowserAnimationsModule ],Finally, we’ll import it so that it can be used in the imports array:
import { BrowserAnimationsModule } from '@angular/platform-browser/animations';The code for the app at this stage can be found in this Github commit.
Final Touches
To add a smooth animation to the accordion, all it takes now is to add the isAnimated property binding to the <accordion> element in the template, and set it to true, like this:
<accordion [isAnimated]="true">Also, currently we have the JavaScript behavior inside Angular taken care of. That’s what we’ve been working on all along! But, what about the styles? We have the working accordion, but the styles are not there.
We need to install another dependency to our Stackblitz app, plain old “bootstrap”. This will add the necessary bootstrap css file.
This time, we’ll first add a call to the bootstrap.min.css file, inside the non-existent bootstrap folder, inside the node_modules folder.
We’ll need to open the the angular.json file, and update the “styles” entry, like this:
"styles": [
    "../node_modules/bootstrap/dist/css/bootstrap.min.css",
    "src/styles.css"
],
Once you save the updated angular.json file, you’ll get the following error:

To fix the error, simply click the big blue “Install package” button, and voila: your styles are showing.
Now we have a working accordion, with all the Bootstrap styling, just like we set out to do at the beginning of this article.
The github commit for the app at this stage can be found here.
Conclusion and summary
We’ve just added a completely functional, standalone accordion component to our Angular app, with the help of ngx-bootstrap.
To reiterate what we’ve covered in this article, when you’re adding a new component to an existing module in Angular, these are the steps to follow:
- Add Bootstrap 4 dependency (ngx-bootstrap), if not installed already
- Add a new folder for a component we want to use (and add at least the
*.component.tsand*.component.htmlfiles) - Display the new component as a custom HTML element (the name of the element is specified in the component class’
selectorentry inside the@Componentdecorator) - Fix potential template parse errors by following advice in error messages
- Specify Bootstrap styling inside the
angular.jsonfile
In this article, we’ve seen how to add the accordion component. In the next article in this series, we’ll look at how to add some other components to our Bootstrap layout prototypes.

