HTML and CSS Basics, part 1: whitespace, HTML elements, and CSS selectors
Browser whitespace, HTML elements, CSS element selectors
By: Ajdin Imsirovic 10 September 2019
This series of posts is titled HTML and CSS Basics. If you’re just starting out with web development, it is crucial to read and understand this series of posts.
This is the first post in this series.
Before we even begin, let’s address the fact that the main image for this post is a wall of bricks. Why is that? Because a wall of bricks is a suitable metaphor about how HTML is laid out in web browsers. With that out of the way, let’s start our article!
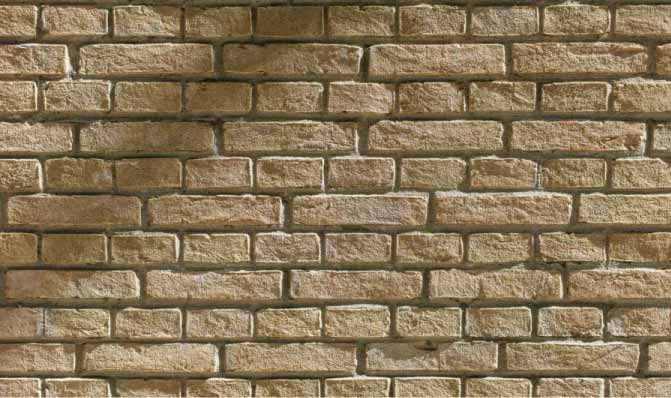 Photo by Ilario Piatti, @ilariopiatti on Unsplash
Table of Contents
Here’s the full list of all blog posts in this series:
- Part 1: Browser whitespace, HTML elements, CSS element selectors
- Part 2: Normal document flow, block elements, and inline elements
- Part 3: Examples of styling block-level elements; CSS element selectors versus CSS class selectors
- Part 4: Controlling document flow via CSS display property
- Part 5: Further exploration of the CSS display property, block-level, and inline elements
- Part 6: The box model in CSS
- Part 7: CSS Positioning
- Part 8: Relative, absolute, and fixed positioning
- Part 9: Images and floats in CSS
- Part 10: CSS selectors and CSS targeting revisited
- Part 11: Building the first layout
- Part 12: Responsive web layouts with media queries
- Part 13: Converting our first layout into a responsive one
- Part 14: CSS resets and Emmet
- Part 15: Column-based CSS layouts
- Part 16: Frontend CSS frameworks
- Part 17: Introduction to SCSS
- Part 18: Build your own micro CSS framework
- Part 19: Building a layout with our micro CSS framework
- Part 20: Building a layout with Bootstrap
- Part 21: CSS animations and transitions
- Part 22: CSS variables
- Part 23: CSS grid
- Part 24: CSS tips and tricks for beginners
To make our code examples easier to follow and play with, we’ll be using Codepen.
Let’s start learning the basics of HTML and CSS!
Video tutorial for this article
I’ve also recorded a video tutorial for this article.
Do you like the above content? If you’d like to see more of it, please make sure to like 👍 the above video and subscribe 🥰 to the CodingExercises Youtube channel.
In the rest of the article, we’ll cover the content from the video in detail.
So, if you’re a more text-type tutorial kind of person, or if you like to follow allow and copy-paste snippets as you work, or if you’d like to have all the links to the Codepen examples handy, please follow along.
Browser whitespace
Let’s say that we have an HTML file, with the following contents inside:
1
2
3
4
5
6
7
8
9
10
This is just some random text.

We can tag it, but we don't have to.

Notice that the browser does not honor any whitespace, except
single
    whitespace
      characters.

It doesn't honor ENTERs and TABs.
Here’s a quick question: How will the above text display in the browser?
In other words, will the browser display the above text with the exact same formatting, or will it be displayed differently?
Ultimately, this question can be rephrased to this: How does the browser deal with whitespace?
To find out, let’s check out our first Codepen example, 001 Browser whitespace pt1a.
Looking at the above referenced code, we can draw two conclusions:
- The browser doesn’t honor whitespace, except single whitespace characters.
- All the ENTERs, TABs, and whitespace characters, are all collapsed into a single whitespace character
HTML elements alter this default behavior
To alter this default behavior, we can simply add some HTML opening and closing tags around any number of words in our text example.
Thus, we can add the opening <h6> tag, and the closing </h6> tag, around the sentence that reads: It doesn’t honor ENTERs and TABs.
In our second example, titled 001 Browser whitespace and normal document flow pt1b, we’re adding four different HTML elements (aka HTML tags), as follows:
<h6>It doesn't honor ENTERs and TABs.</h6>
<h3>It doesn't honor ENTERs and TABs.</h3>
<h1>It doesn't honor ENTERs and TABs.</h1>
<div>It doesn't honor ENTERs and TABs.</div>
In the Codepen preview window, we can see that adding these tags around the exact same piece of text, makes the browser display that text differently.
The <h6> is the smallest heading element. The largest one is the <h1> tag.
The <div> element is used to group elements on the page when there’s no better tag available to group them.
Based on the above, we can add two additional conclusions for HTML:
- HTML elements have an opening tag:
<>, and a closing tag:</> - Some HTML elements only have an opening tag. No need to close a
<br>or an<hr>!
Note: a <br> tag is a breaking space - similar to pressing the ENTER in a text processing software, such as MS Word. An <hr> tag is the horizontal rule tag; it gives us a horizontal line to visually separate the contents of the page.
Next, we’ll discuss some basic CSS from our example.
Getting started using CSS
Notice that on this Codepen example, we’ve also got the CSS section with some actual CSS code:
div { background: orange; border: 1px solid tomato }
What does this code do?
Targeting HTML elements on the page using CSS declarations
CSS is used to make a web page better-looking.
This is achieved using CSS declarations. Here is a “formula” for a CSS declaration:
target {
  property: value;
  property: value;
}
In our example:
- the target is the
<div>element. - the first property is the
backgroundproperty. - the value on the first property is
orange. It is a named HTML color. - there are many named HTML colors, so to keep things interesting and easier to remember, we’ll be using food-named colors here. There are about 10 of those.
- the second property is the
borderproperty. - the value on the
borderproperty is1px solid tomato. As we can see here, this property has 3 values. This is sometimes possible in CSS. - To remove all the borders simply use:
border: noneproperty-value pair.
We’ve just learned how easy it is to get started with HTML and CSS. In the next post in this series, we’ll further expand our knowledge, by discussing just what that wall of bricks metaphor is all about.
Use the below link to navigate through the next tutorial in this guide.
You are here: Part 1, Whitespace, HTML elements, and CSS selectors
Continue to part 2: Document flow, block and inline elements >

