Quickstart Elm 0.19, part 1
Get started quickly with the Elm language, version 0.19
By: Ajdin Imsirovic 20 October 2019
In this article series, we’ll look into learning Elm quickly.
 Photo by
Braden Collum, @bradencollum on Unsplash
Photo by
Braden Collum, @bradencollum on Unsplash
Note: Examples in this article use Elm 0.19.
Installing Elm
Contrary to Elm version 0.18, which was a bit of a pain to install, installing Elm 0.19 is actually pretty easy, even fun.
All you have to do is visit this url: https://guide.elm-lang.org/install/elm.html.
On the referenced web page, you’ll find installers for Mac and Windows, and instructions for a Linux installation.
I’ll assume you’ve installed Elm on your system without any major hiccups, and so, we can get started right now.
A practical app to get started with Elm quickly
Let’s first add a brand new folder for our project, then cd into it, and run the elm init command:
mkdir my-first-elm-app
cd my-first-elm-app
elm init
This will add an empty src folder and the elm.json file to your my-first-elm-app folder.
Similar to package.json, the elm.json file is your Elm app’s way to keep track of dependencies and other project-related information.
The src folder houses all the Elm files of your app.
In this first article in the Quickstart Elm series, we’ll keep things simple, and focus on building just HTML output.
In other words, we’ll use Elm to render DOM text nodes.
Note that some parts of this article are repurposed from my book on Elm titled Elm Web Development, which is an introductory book to Elm 0.18.
In this article, all the code has been updated to Elm 0.19 and some brand new sections have been added.
Rendering text nodes
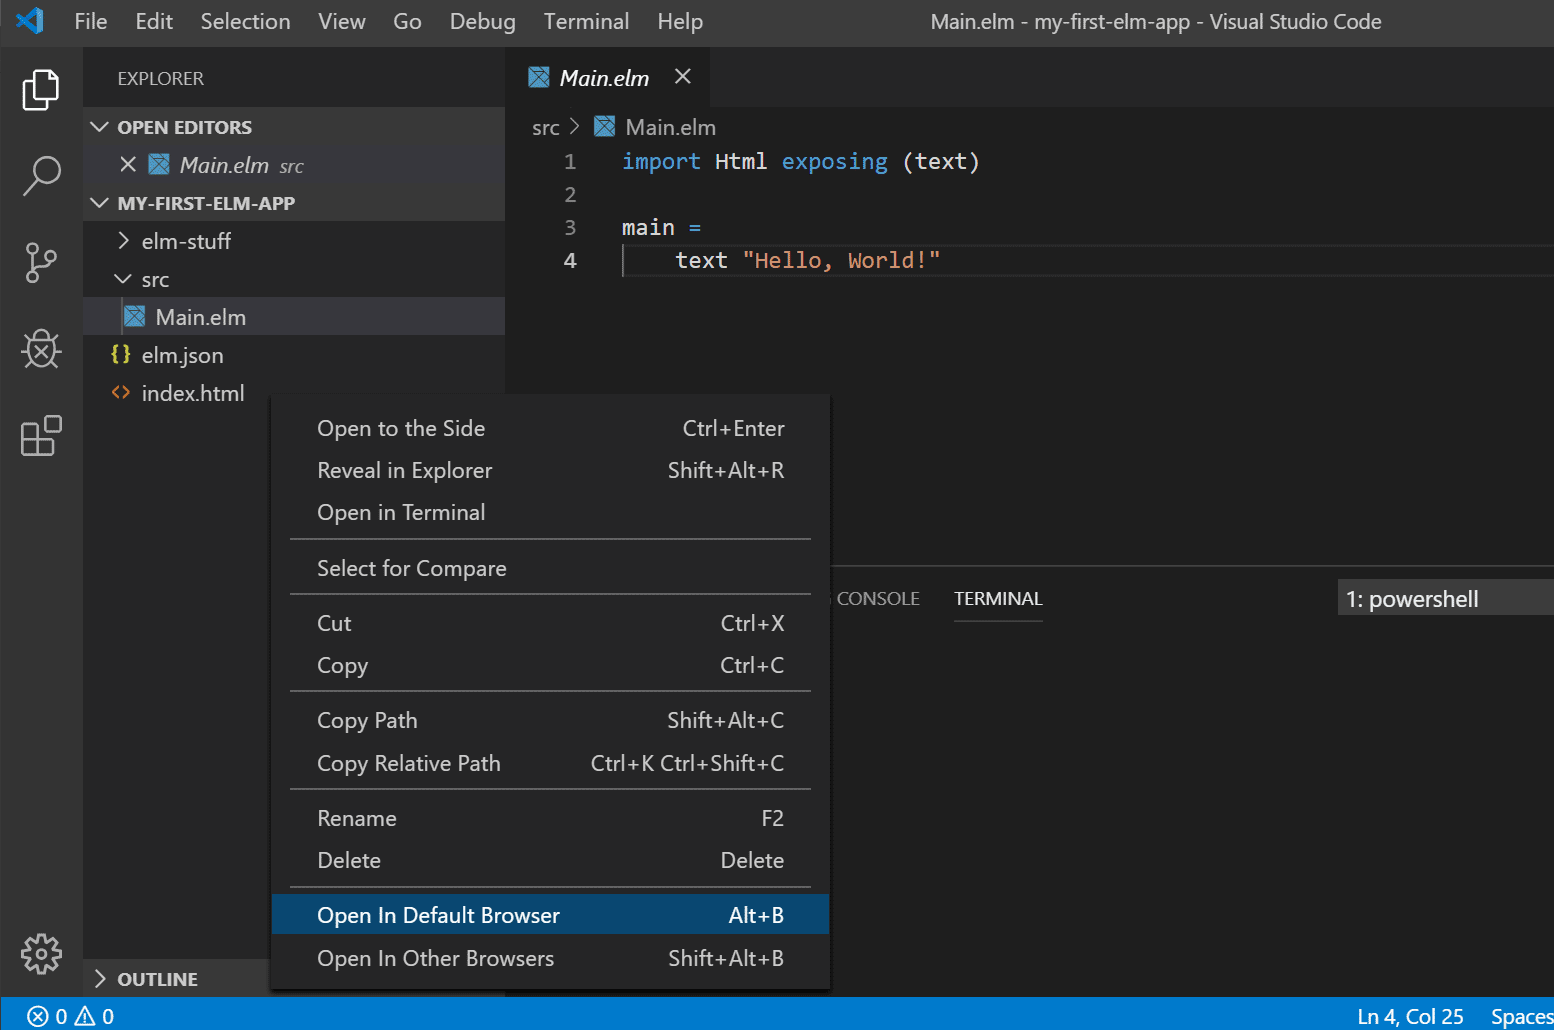
Let’s add a new file to our src folder, and call it Main.elm:
import HTML exposing (text)

main =
    text "Hello, World!"
Now save all files in your editor, and run the following command in your console:
elm make src/Main.elm
You’ll get back the following success message logged to the console:
Success! Compiled 1 module.
Also, an index.html file will be auto-generated in the root of your project.
To view the compiled Elm app, simply right-click index.html and click on the Open in Default Browser command.
Let’s revisit our Elm code:
import Html exposing (text)

main =
    text "Hello, World!"
The preceding code compiles to a simple Hello, World! output.
But, what is this output?
Is it an HTML element?
No.
It is actually just a DOM text node. And since text nodes need to have an element attached to them, this text node gets attached to the topmost element that actually does get renderd, which is the <body> element. You can verify this by inspecting the rendered text in your browser’s Developer Tools.
Let’s do something else here. Let’s render an actual HTML element on the page.
Rendering an actual HTML element on the page
To do this, we need to pass in a function with some attributes to our main variable.
For example, we can do this:
import Html exposing (..)

main =
    h1 [] [ text "Hello, Elm!" ]
What did we do here?
We passed in the h1 function to main.
The h1 function takes two parameters; the first parameter is empty, and the second parameter takes in the text function as the attribute. This text function accepts a string of text as its own parameter, in this case, “Hello, Elm!”.
Let’s inspect the Developer Tools after this change. We can see that the text node’s parent is now indeed an h1 HTML tag.
Changing the function from h1 to h2
Let’s change the function from h1 to h2`:
h2 [] [ text "Hello, Elm" ]
Inspecting the compiled index.html in the browser again, we’ll see that now our text node is indeed wrapped in an h2 element.
Trying out different HTML tags in Elm 0.19
Let’s try a different tag, for example, an anchor tag:
main =
    a [] [ text "Hello, Elm!" ]
What about an li?
main =
    li [] [ text "Hello, Elm!" ]
Can we add it as a paragraph?
main =
    p [] [ text "Hello, Elm" ]
Nesting HTML elements in Elm 0.19
Nesting elements is easy.
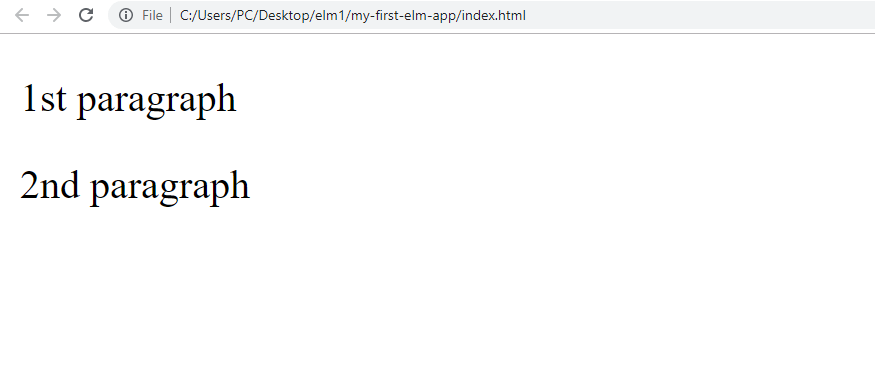
For example, if we want to render a div that holds two paragraphs, we will call a div function and inside its brackets, we’ll call two p functions, like this:
import Html exposing (..)

main =
    div []
    [ p [] [text "1st paragraph"]
    , p [] [text "2nd paragraph"]
    ]
In all the examples so far, we left the first parameter empty. That parameter is used to add HTML attributes, for example, class.
So, let’s now try to color our div:
import Html exposing (..)
import Html.Attributes exposing (class)

main =
    div [ class "success" ]
    [ p [] [text "1st paragraph"]
    , p [] [text "2nd paragraph"]
    ]
After this most recent update, our Elm app, when compiled to html, will look like this in the browser:
That’s it for this article!
We’ve learned how to install Elm and we wrote some static HTML.
In part 2 of the Quickstart Elm article series, we’ll make things a lot more dynamic by building our first actual Elm app.

