Build a create-react-app starter app
If we need to transpile our code, why not go all-in and do it locally while developing our React sites?
By: Ajdin Imsirovic 21 January 2022
Now, in this chapter, we’re “back to the basics”, in the sense that we’re continuing from where we left off at the end of Chapter 1.
However, now we should have a better idea of why things are done the way they are. Basically, if we need to transpile our code, like we did at the end of Chapter 2, why not go all-in and use a fully-featured build step? That’s exactly what was happening with our simplest React app built in Chapter 1, with the help of the create-react-app utility.
Table of contents
- Building a new version of the create-react-app starter application
- How to code a functional component in React?
- Exercise: Write functional components in our React app
- How does our React app compile and how does it get watched?
Building a new version of the create-react-app starter application
Now’s the time for some quick revision.
Let’s open a folder of our choice using the console, and let’s spin up another app with create-react-app:
npx create-react-app simplest2
Now:
cd simplest2;
yarn start;
Everything should be serving fine. If it’s not, perhaps you still have the previous React app running. Feel free to stop it and start this new app.
On localhost:3000, we should still find the default app running.
Now we can re-open it in a code editor such as VS Code, and review the app again.
The index.js still looks as before:
1
2
3
4
5
6
7
8
9
10
11
12
13
14
15
16
17
import React from 'react';
import ReactDOM from 'react-dom';
import './index.css';
import App from './App';
import reportWebVitals from './reportWebVitals';

ReactDOM.render(
  <React.StrictMode>
    <App />
  </React.StrictMode>,
  document.getElementById('root')
);

// If you want to start measuring performance in your app, pass a function
// to log results (for example: reportWebVitals(console.log))
// or send to an analytics endpoint. Learn more: https://bit.ly/CRA-vitals
reportWebVitals();
So does the App.js file:
1
2
3
4
5
6
7
8
9
10
11
12
13
14
15
16
17
18
19
20
21
22
23
24
25
import logo from './logo.svg';
import './App.css';

function App() {
  return (
    <div className="App">
      <header className="App-header">
        <img src={logo} className="App-logo" alt="logo" />
        <p>
          Edit <code>src/App.js</code> and save to reload.
        </p>
        <a
          className="App-link"
          href="https://reactjs.org"
          target="_blank"
          rel="noopener noreferrer"
        >
          Learn React
        </a>
      </header>
    </div>
  );
}

export default App;
Now, however, we understand that the {logo} is a way to dynamically include the logo imported on the very first line. The {logo} is now part of the JSX syntax returned from the App() function.
This brings us to another major conclusion: The App() component is just a function.
How to code a functional component in React?
The simplest way to define a component in React is to code a functional component. It has some really simple syntax:
1
2
3
4
5
6
7
function ComponentName() {
  return (
    /*
      Some JSX syntax here
    */
  )
}
Let’s write a functional component, next.
Exercise: Write functional components in our React app
In the previous chapter, we borrowed an example from a Codepen we found:
1
2
3
4
5
6
7
8
9
10
11
12
13
14
15
16
17
function Person (props) {
  return (
    <div className="person">
      <h1>{props.name}</h1>
      <p>Age: {props.age}</p>
    </div>
  );
}

let app = (
  <div>
    <Person name="Simeon" age="30" />
    <Person name="Liliya" age="31" />
  </div>
);

ReactDOM.render(app, document.querySelector('#app'));
And let’s try to make it work with our local app.
Here’s the updated code of App.js:
1
2
3
4
5
6
7
8
9
10
11
12
13
14
15
import logo from './logo.svg';
import './App.css';

function App(props) {
  return (
    <div className="App">
      <div className="person">
        <h1>{props.name}</h1>
        <p>{props.bio}</p>
      </div>
    </div>
  );
}

export default App;
In order to make this work, we need to update index.js as well. Since most of the file stays the same, let’s just see the updated ReactDOM.render() call:
1
2
3
4
5
6
ReactDOM.render(
<React.StrictMode>
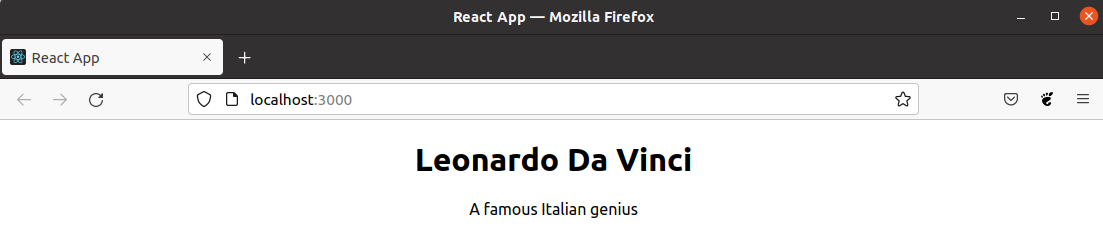
<App name="Leonardo Da Vinci" bio="A famous Italian genius" />
</React.StrictMode>,
document.getElementById('root')
);
If we served our app in the browser now, we’ll find the following screen:
Additionally, our yarn serve command is using a linter to inform us that there are some things that are unused:
Compiled with warnings.

src/App.js
  Line 1:8: 'logo' is defined but never used no-unused-vars

Search for the keywords to learn more about each warning.
To ignore, add // eslint-disable-next-line to the line before.
Thanks, linter!
Now we can improve our app by simply deleting (or commenting out) the import for the logo. There are other things we might do, but we’re optimizing our code for learning, not for advanced layouts (at least at this point).
Here’s the updated App.js:
1
2
3
4
5
6
7
8
9
10
11
12
13
14
import './App.css';

function App(props) {
  return (
    <div className="App">
      <div className="person">
        <h1>{props.name}</h1>
        <p>{props.bio}</p>
      </div>
    </div>
  );
}

export default App;
Upon saving the above file, we’re no longer getting errors. Instead, we’re getting the following:
Compiled successfully!

You can now view simplest2 in the browser.

  Local:            http://localhost:3000
  On Your Network:  http://192.168.1.167:3000

Note that the development build is not optimized.
To create a production build, use yarn build.
How does our React app compile and how does it get watched?
Here’s an interesting question: What is it that compiles our app? And where does it come from?
The answer has to do with our node_modules folder. It’s not only React that got installed: it’s also the entire ecosystem needed to run and compile our app, watch the changes to our files, and update them accordingly.
One such module is webpack, a piece of technology known as a module bundler, whose purpose is to bundle all the pieces of our app into a final structure that then gets compiled and served locally. It’s a way to combine all the separate parts of our app into a coherent whole, and to do that as efficient as possible. That’s why we have the development build (un-optimized), and the production build (optimized).
Babel is another module that React relies on. Its purpose is to take the most modern versions of the JavaScript language, and transpile them into older versions - versions that more browsers can understand. The idea is that we write our code away with reckless abandon - in the sense that we don’t have to care if a feature is yet implemented in any browser - even modern ones - and Babel will dutifully transpile our code into something that the browsers we target can understand. A nice analogy would be that Babel is like an interpreter who translates the newest hip lingo of some high-school kids into proper English that anyone can understand.
The ESLint module’s task is to watch our code for varous predefined transgressions. They don’t necessarily have to be full-blown errors - they can be weird formatting and styling choices too. With ESLint, the age-old conundrum of tabs versus spaces and other formatting questions are no longer up for debate. Thus, a team can agree ahead of time to follow some or all of the ESLint rules, and things are settled.
There are other modules like Jest for testing and Web Vitals for measuring performance.
That’s it for the current chapter. In the next one, we’ll start using props in a couple of pratice apps.

