React props basics, practical examples
Let's practice using React props and understand why they're so important
By: Ajdin Imsirovic 22 January 2022
Now, in this chapter, we’re “back to the basics”, in the sense that we’re continuing from where we left off at the end of Chapter 1.
However, now we should have a better idea of why things are done the way they are. Basically, if we need to transpile our code, like we did at the end of Chapter 2, why not go all-in and use a fully-featured build step? That’s exactly what was happening with our simplest React app built in Chapter 1, with the help of the create-react-app utility.
Table of contents
- Exercise 1: Build a new app about a car (locally)
- Exercise 2: Build a new app about a car (on Codepen)
- Exercise 3: Add an image to our Car React app on Codepen
- Exercise 4: Using props to make reusable components
Now that we’ve gotten acquainted with some of the piping of our local React installation, let’s improve our retention by rebuilding the app we’ve built earlier in this chapter. We’ll do it two times: on our local machine and on codepen.
Exercise 1: Build a new app about a car (locally)
Let’s build a new app about a car. We’ll pass it a className of person and we’ll give it three props: a make, a color, and a year.
Try it on your own before you continue reading.
Here’s the solution.
In App.js, the code looks like this:
1
2
3
4
5
6
7
8
9
10
11
12
13
14
15
import './App.css';

function App(props) {
  return (
    <div className="App">
      <div className="person">
        <h1>My {props.make}</h1>
        <p>My {props.make} is {props.color}</p>
        <p>It's a bit older, from {props.year}</p>
      </div>
    </div>
  );
}

export default App;
In index.js, the code looks like this:
1
2
3
4
5
6
7
8
9
10
ReactDOM.render(
  <React.StrictMode>
    <App
      make="Honda"
      color="red"
      year="2011"
    />
  </React.StrictMode>,
  document.getElementById('root')
);
The rest of the code in index.js looks the same as in the default starter app.
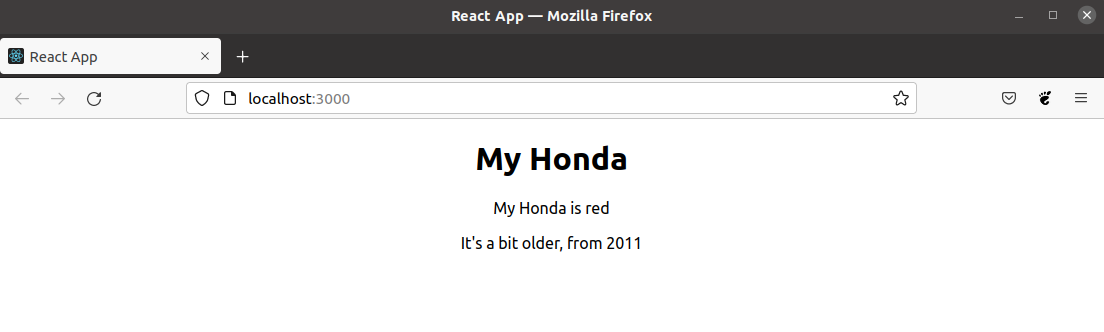
Here’s an example screenshot of our car app:
Exercise 2: Build a new app about a car (on Codepen)
Let’s now rebuild the car app on Codepen.
Like before, try to build one on your own before you see the solution in the book.
The solution is available as a Codepen titled Simple React props (my car example).
Here’s the relevant code (JSX):
function Car(props) {
  return (
    <div className="car">
      <h1>My {props.make}</h1>
      <p>
        My {props.make} is {props.color}
      </p>
      <p>It's a bit older, from {props.year}</p>
    </div>
  );
}

let app = (
  <div>
    <Car make="Honda" color="red" year="2011" />
  </div>
);

ReactDOM.render(app, document.querySelector("#app"));
Although it’s quite similar to what we already had, there are also some minor differences. Namely, we’ve built the Car component as a separate component, and then we’ve used it as a custom “HTML” element inside the app variable.
We’ve then passed the app as the first argument of the ReactDOM.render() method, and the second one was the location where to mount the app.
If this is a bit unclear, remember the “formula” in pseudo-code:
ReactDOM.render(El, Target);
Exercise 3: Add an image to our Car React app on Codepen
To close this chapter off with a fun exercise, let’s update it so that we also render an image of a Honda car from the unsplash.com website.
Here’s the relevant update:
let carImgUrl = "https://images.unsplash.com/photo-1605816988069-b11383b50717";

let app = (
  <div>
    <img src={carImgUrl} width="400" />
    <Car make="Honda" color="red" year="2011" />
  </div>
);
Now our car website is looking a bit nicer, as can be seen in the screenshot below.

Exercise 4: Using props to make reusable components
The best thing about props is that they allow us to make reusable components possible.
What does that mean?
Well, if we think back to previous chapters, we’ll probably remember that JSX syntax is all about separation of concerns: there’s the HTML side of things, and then there’s the JS side of things, all bundled up nicely in JSX syntax.
This makes it possible to write a “logic-less” component that consists of mostly HTML and some props syntax in proper places, and then to use this “logic-less” component in a parent component, passing it custom attributes that will then be populated.
To truly appreciate the elegance of this approach, we’ll need to start with a hard-coded example.
The HTML remains unchanged. There are slight updates to our CSS:
1
2
3
4
5
6
7
8
9
10
11
12
13
.cars {
  display: flex;
  flex-wrap: wrap;
}
.car {
  border: 1px solid gray;
  margin: 20px;
  padding: 20px;
  width: 300px;
}
.car img {
  width: 100%;
}
The hard-coded JSX is quite long:
1
2
3
4
5
6
7
8
9
10
11
12
13
14
15
16
17
18
19
20
21
22
23
24
25
26
27
28
29
30
31
32
33
34
35
36
37
38
39
40
41
42
43
44
45
46
function Cars() {
  return (
    <div className="cars">
      <div className="car">
        <img src="https://www.codingexercises.com/img/2022-01-25/001-bmw-blue.jpg" />
        <h2>My BMW</h2>
        <p>
          My BMW is blue.
        </p>
        <p>It's a bit older, from 2011.</p>
      </div>
      <div className="car">
        <img src="https://www.codingexercises.com/img/2022-01-25/002-mercedes-gray.jpg" />
        <h2>My Mercedes</h2>
        <p>
          My Mercedes is gray.
        </p>
        <p>It's a bit newer, from 2018.</p>
      </div>
      <div className="car">
        <img src="https://www.codingexercises.com/img/2022-01-25/003-toyota-gray.jpg" />
        <h2>My Toyota</h2>
        <p>
          My Toyota is gray.
        </p>
        <p>It's brand new.</p>
      </div>
      <div className="car">
        <img src="https://www.codingexercises.com/img/2022-01-25/004-alpha-romeo-red.jpg" />
        <h2>My Alpha Romeo</h2>
        <p>
          My Alpha Romeo is red.
        </p>
        <p>It's a bit older, from 2012.</p>
      </div>
    </div>
  );
}

let app = (
  <div>
    <Cars />
  </div>
);

ReactDOM.render(app, document.querySelector("#app"));
The Codepen for the above example is titled Hard-coded cards without React props.
In this hard-coded example, we have a number of hard-coded card components, where each card holds some data about a single car.
However, this is problematic, as it’s hard to maintain and hard to update.
Any updates on such a hard-coded site would require manual updating of images and text. Instead, the vast majority of modern websites receives the data from a database, and then the HTML structure simply gets updated with whatever data comes over the wire.
In order to achieve this in React, we’ll need to use props and remove our hard-coded information.
This practically means that our code should be updated to this:
1
2
3
4
5
6
7
8
9
10
11
12
13
14
15
16
17
18
19
20
21
22
23
24
25
26
27
28
29
30
31
32
33
34
35
36
37
38
39
40
41
42
43
function Car(props) {
  return (
    <div className="car">
      <img src={props.imgUrl} />
      <h2>My {props.make}</h2>
      <p>
        My {props.make} is {props.color}
      </p>
      <p>It's a bit older, from {props.year}</p>
    </div>
  );
}

let app = (
  <div class="cars">
    <Car
      make="BMW"
      color="blue"
      year="2011"
      imgUrl="https://www.codingexercises.com/img/2022-01-25/001-bmw-blue.jpg"
    />
    <Car
      make="Mercedes"
      color="gray"
      year="2018"
      imgUrl="https://www.codingexercises.com/img/2022-01-25/002-mercedes-gray.jpg"
    />
    <Car
      make="Toyota"
      color="gray"
      year="new"
      imgUrl="https://www.codingexercises.com/img/2022-01-25/003-toyota-gray.jpg"
    />
    <Car
      make="Alpha Romeo"
      color="red"
      year="2012"
      imgUrl="https://www.codingexercises.com/img/2022-01-25/004-alpha-romeo-red.jpg"
    />
  </div>
);

ReactDOM.render(app, document.querySelector("#app"));
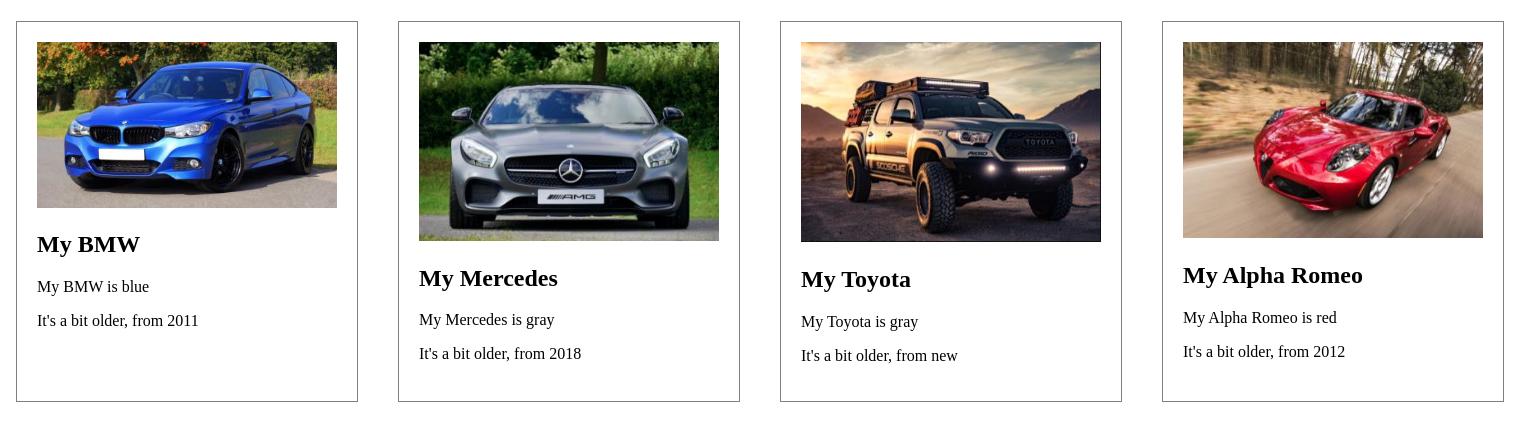
The above code renders the following view in the browser:

The above code is saved in another Codepen, titled Repeating cards using React props, pt 1
There are a couple of conclusions that we can draw from the above changes:
- It’s much easier to have a single component with some simple structure and props as placeholders for data to receive
- Then it’s just a matter of calling the specific component in a parent component - for as many times as needed
While adding hard-coded cards would become really, really hard to maintain, the current setup is a step in the right direction.
However, things can be even further improved, by looping over the Car component’s data. We’ll see an example of this approach in the upcoming chapters.
With this, we close the current chapter. In the next one, we’ll learn about some older and some newer concepts in React.

